
Henry’s Dura-brite is an elastomeric roof coating. Elastomeric means stretchy but makes you sound smarter.

Unlike paint, elastomeric roof coverings contain more solid materials. This addition makes them more flexible and tougher. According to the Henry’s website, Dura-brite provides ” weather protection, high solar reflectivity and superior longevity.”
Really, it helps seal the roof, but, more importantly, reflects hot sun rays away from the bus and help keep that tin can cool!
Henry’s Dura-brite vs Henry’s Tropicool
I see in forums and social media posts that many skoolie owners opt for Henry’s Tropicool product. It does appear, in several ways, better adapted to severe environments. Henry’s states that this “premium” product with “100% silicone chemistry is especially suited for extreme tropical environments, which are exposed to some of the hottest and wettest weather with intense UV exposure.”
So, in deciding between Henry’s Dura-brite and Henry’s Tropicool I weighed several options.
Performance
I don’t live in an extreme tropical environment. And while I may visit one from time to time, I don’t plan on going there when it’s extremely hot.
There’s also the acrylic vs silicone issue.
I still feel emotionally scarred from trying to scrape all the silicone off the window frames when I cleaned and reinstalled them. That stuff is a royal pain-in-the-you-know-what to get off. And nothing sticks to it.
Now I’m not actually planning on having to get up there and scrape off roof membranes, but what if I want to overlap a bit of paint, or glue something down? Maybe I won’t, but who knows? My last experience dealing with silicone wasn’t that much fun.
Cost
I found Henry’s Dura-brite significantly less expensive than Henry’s Tropicool. Like 4X less! One gallon of Tropicool lists at $85 a gallon. Dura-brite is $89 for 5 gallons.
Surface Prep for Henry’s Dura-brite
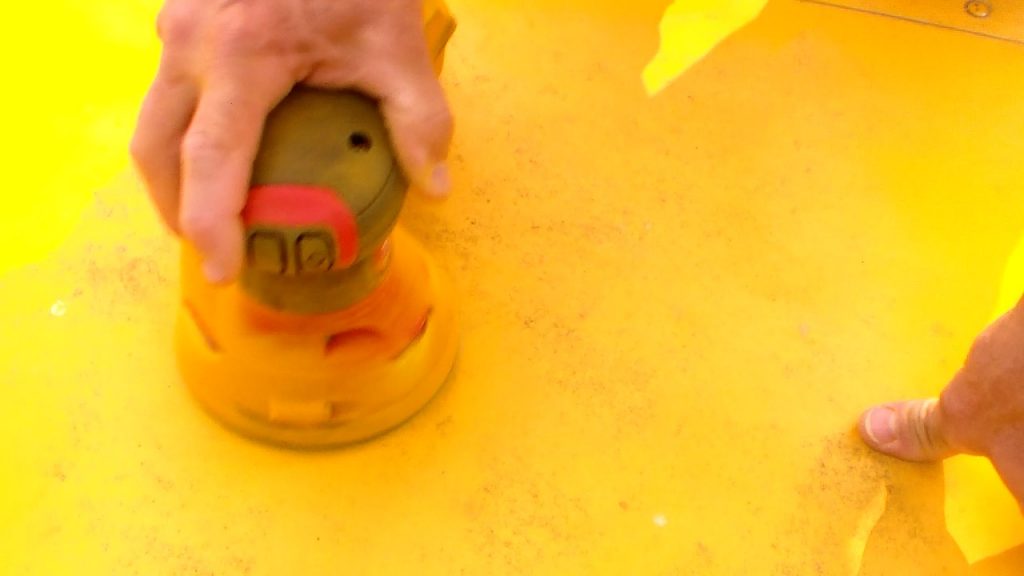
The directions for Henry’s Durabrite suggest power washing the roof and wash with a “non-filming detergent.” I don’t have a pressure washer, alas, but I do have an orbital sander.
It seems to be common consensus that to prep a layer of paint for another layer of paint, especially one with a clear coat over it, that you should sand the surface. Sanding scuffs the existing layer of paint creating microfissures that the next coat of paint can stick to.
So, using 80 grit pads on my Milwaukee Orbital Sander, I sanded my way down the roof of the bus. I tried to get as much grit, grime and whatever was stuck to the roof off without sanding into the primer coat. Mostly, I wanted to sand off the sheen.
After sanding I rinsed the dust off with a hose, scrubbed the roof with Simple Green degreasing detergent, then rinsed one more time with a hose. Then I let the bus rest and dry overnight.
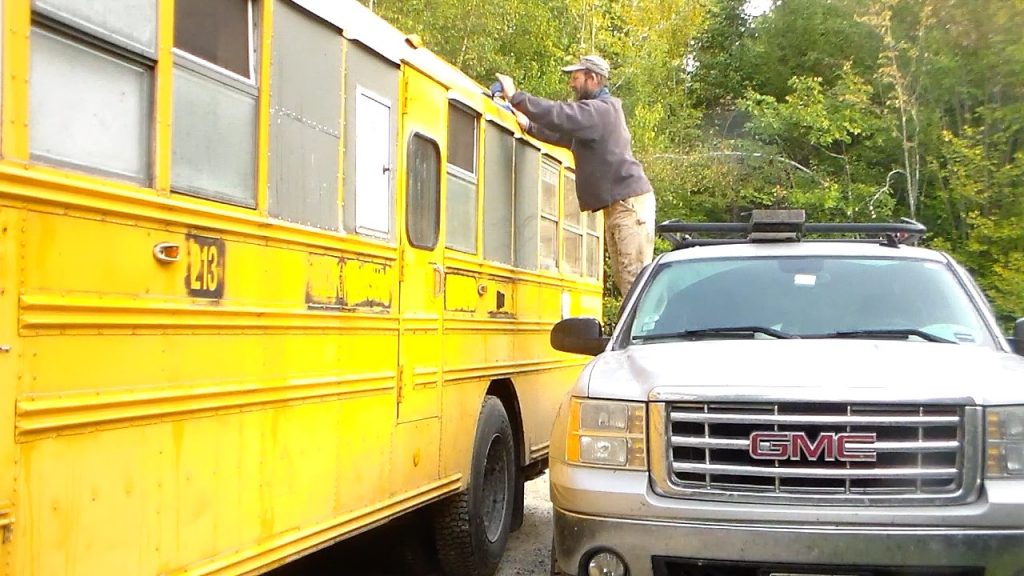
Masking
The next morning was cool and a bit dewy. However, I managed to get 2 courses of 2″ masking tape down along the top edge of the black strip at the edge of the roof. This, I hope, will give me a relatively straight line for the final coat of bus paint that will go on…someday.
Henry’s Durabrite Prep and Conditions
According to the directions, the surface temperature should be between 50 and 140 degrees fahrenheit. And while it can be “damp,” it shouldn’t be wet. In addition, you should give yourself at least 2 hours before nightfall to allow the durabrite to set before dewfall, and choose a day where you will have at least 12 hours before any rain.
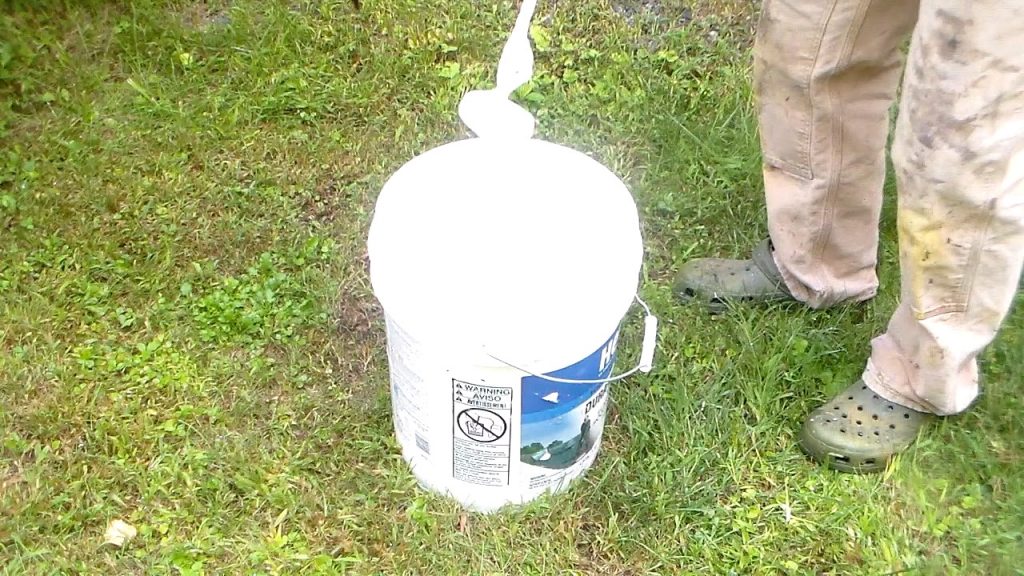
To mix the 5 gallon pail of Henry’s Durabrite I used a drill mounted paint mixer. Man, why did I wait so long to get one?! It works great! Rather than slopping material all over the place with a stirring stick, this mixer churns everything around effortlessly! (I’m reminded of my epoxy butcher block countertop project. This little baby would have made the 7-minute epoxy mixing marathon much easier!)
Henry’s Dura-brite Application
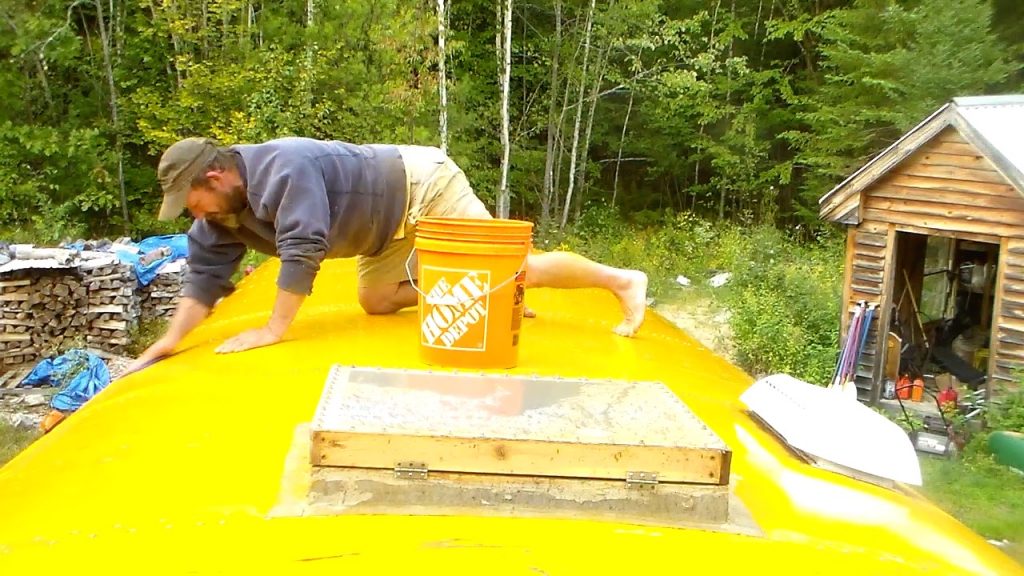
Once the dew dried and temps reached 70…which became 9am I began painting like the wind.
I used a 3/4″ nap, 9″ wide roller mounted on a broom handle to roll on the first coat on going across the roof of the bus. It took me 35 minutes.
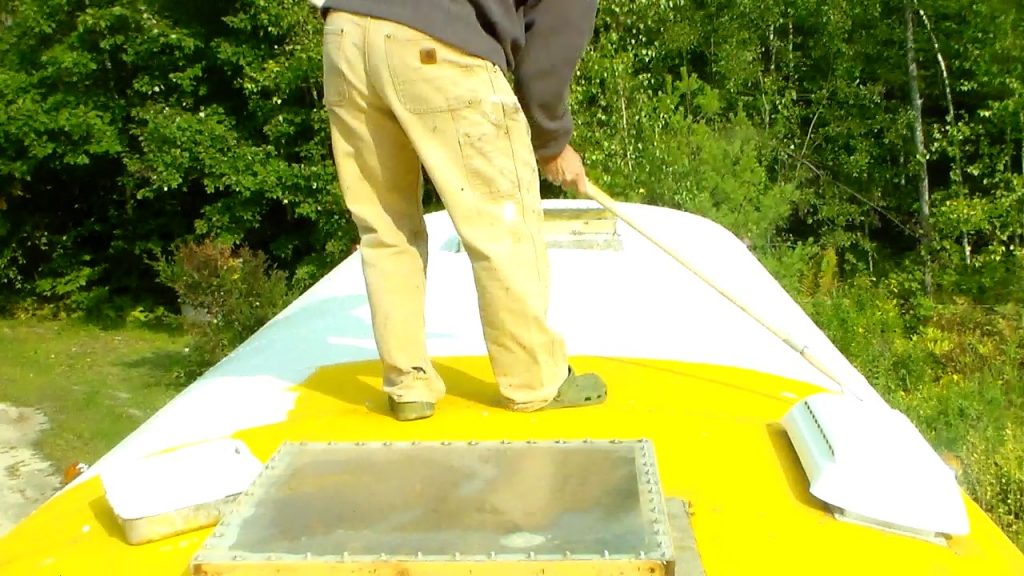
Pro-Tip!
I was talking to a bus mechanic about this project and he told me to, as much as possible, stup on the ribs (you can tell where they are by the rivets in the roof). He said that if you step in the middle where the the ribs dont’ support the sheet metal, it tends to make the metal flex and open up the seams.
It was 70 degrees, sunny and relatively low humidity and the coat dried in about 45 minutes.
Henry’d Dura-Brite Second Coat
I added the second coat. This time I rolled it on lengthwise since the directions state that I should apply it “at right angles to the first.” In addition, you should apply the second coat on the same day as the first coat. Doing so will provide better adhesion since the first coat will not have fully cured yet.
Coverage
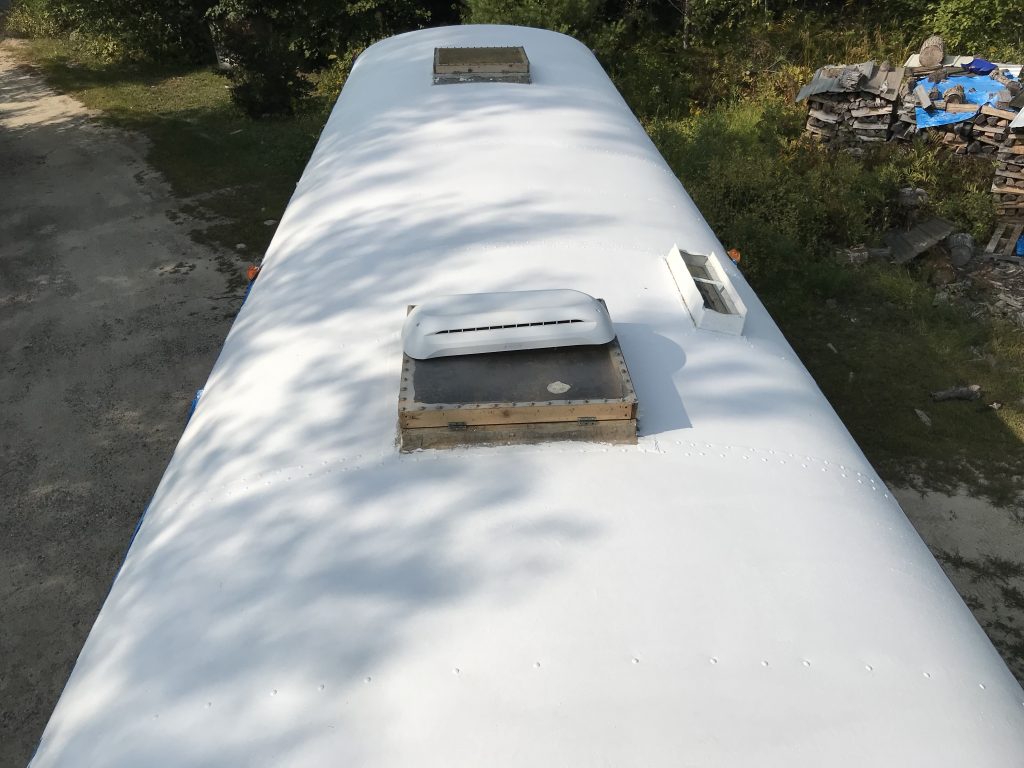
My bus roof is about 27 feet by 7 and a half feet. After two coats I still had over half of my five gallon bucket left and it looked like the roof could use another coat. In talking with other Skoolie owners who have used Henry’s Dura-brite, they, too, said that three coats did the trick. So I added another coat, going across the grain again. And I still have just a little less than half a bucket left.
According to the Henry’s Dura-brite information sheet, the coverage is 475 square feet per 5 gallons.
Clean-up
Henry’s Durabrite cleans up pretty easily with hot, soapy water. I rinsed off the mixer, the roller and myself. And, for another pro-tip, if you want to reuse the roller, I fnd putting it in a ziplock bag and putting it in the freezer works well. It’s always tough to get all the paint out of it, so when it dries it gets hard and prickly! If you put it in the freezer you can take it out, let it thaw, and it will still be soft and pliable!
I also removed the masking tape before the second coat dried to avoid peeling the dura-brite off.
Conclusion
Boy..it sure is white!
I will say that the process went remarkably well! So many Skoolie projects seem simple yet grow complicated quickly. (I’ll change this running light bulb…no, wait. Dagnabbit. It actually ned to fix a rusted ground! )
This one, however, didn’t raise my anxiety or ire, and it looks great.
I’ll have to wait until next summer, though, to find out if it actually keeps the bus cooler.
I’ll bet it will.
To see the paint process for the rest of the bus, check out this post here!