
Getting down to the nitty-gritty on the skoolie build, so I needed to modify my skoolie pullout couch.
In order to get the bus as “livable” as possible early least summer, I hastily threw together several components of the bus. Like the skoolie pullout couch, for example…and, the kitchen countertop…some stuff like that.
(As a general rule, I don’t recommend this. It creates hassles down the road as you will see. But…sometimes you just need to forge ahead and get stuff done, so”¦.)
Anyhoo.
Here’s the problem I needed to solve.
Skoolie Pullout Couch Design
We want the skoolie pullout couch to pull out into a guest bed. How often will this scenario come into play? Probably not often, but it might.
We also want a table that can seat 4-6 people for eating and Pinochle playing. (This is a much more likely scenario).
So I wanted to combine the two needs. I needed a table that could fold up and store underneath the couch when not in use.
And, could serve as part of the pull out bed. It would span the space between the couch and the two seats and fold down “nook” table on the other side of the bus.
I had originally built the skoolie pullout couch seat with a hinged top with this idea in mind. However, my spatially / mathematically challenged brain did not thoroughly foresee the detail that a table that could fit under the couch wouldn’t actually reach across that span.
Oops.
So I needed to retro engineer and build a solution.
Evidently I needed expanding and collapsing functions to the seat and to the table.
In other words, a pull-out couch seat and a leaf table.
Eureka!
Skoolie Pull-Out Couch
Measuring
Pull out slat couch designs are all over the internet. I had seen them before and, somehow, my spatially challenged brain remembered how they worked.
I measured my width span (46 1/2 inches).
I felt that I wanted â…œ” space between each slat. 1/4″ seemed too small…more of a risk of that gap being filled by a combination of wood swelling and perhaps the whole thing being a bit out of square…I don’t know…just seemed like the margin of error increased with a smaller space.
So I decided on â…œ”.
I measured my overall width of the seat, (24″), and cut 1×4 slats to that length.
I wanted the “frame” pieces to be fairly narrow which would allow for a longer pull-out length, so I chose 1 1/2″. Hopefully strong enough. To help out with the strength I used oak for these pieces. (I used pine for the slats because: 1. I had it and 2. It didn’t need to be pretty since it would be covered up most of the time.
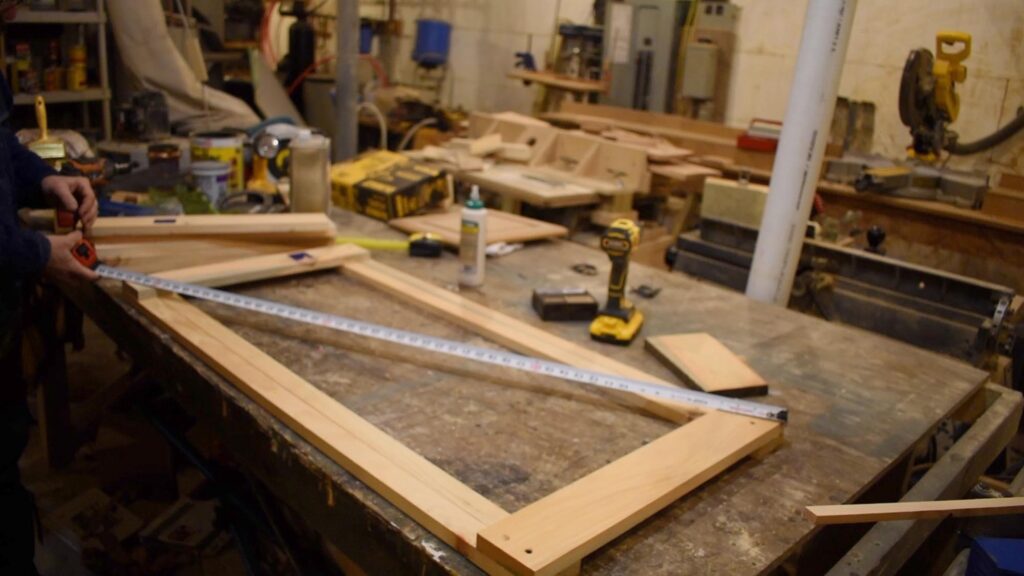
Skoolie Pullout Couch / Bed Layout
I layed out the frame pieces on my work table and placed the slats on top to double check the spacing.
So far so good.
To reduce the risk of splitting the pine slats I pre drilled and countersunk screw holes with my drill press.
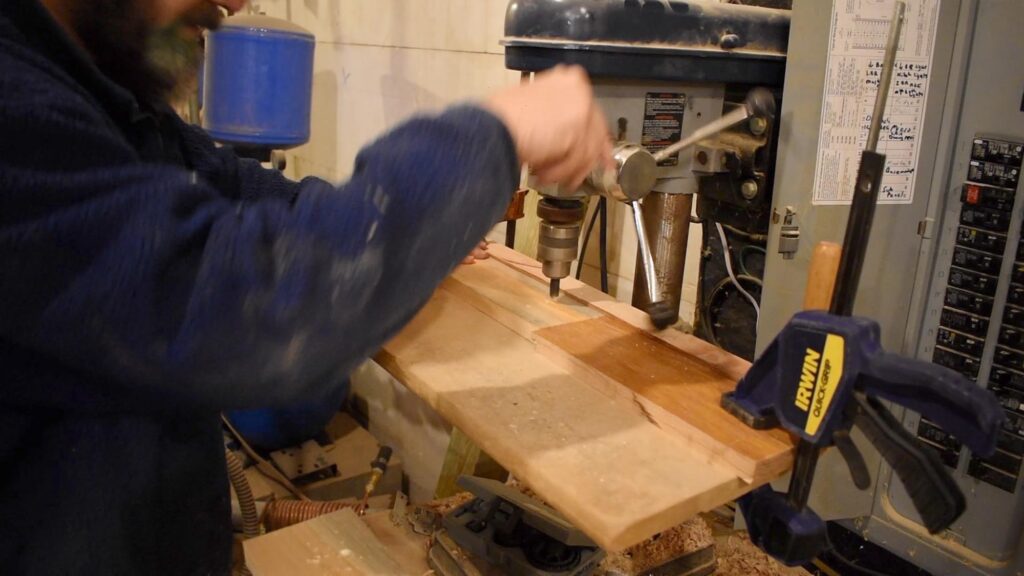
Since the slats will alternate which frame member they screw to, at one end the holes were â…œ” from the end, but on the other end they were 1 1/2 ” from the end.
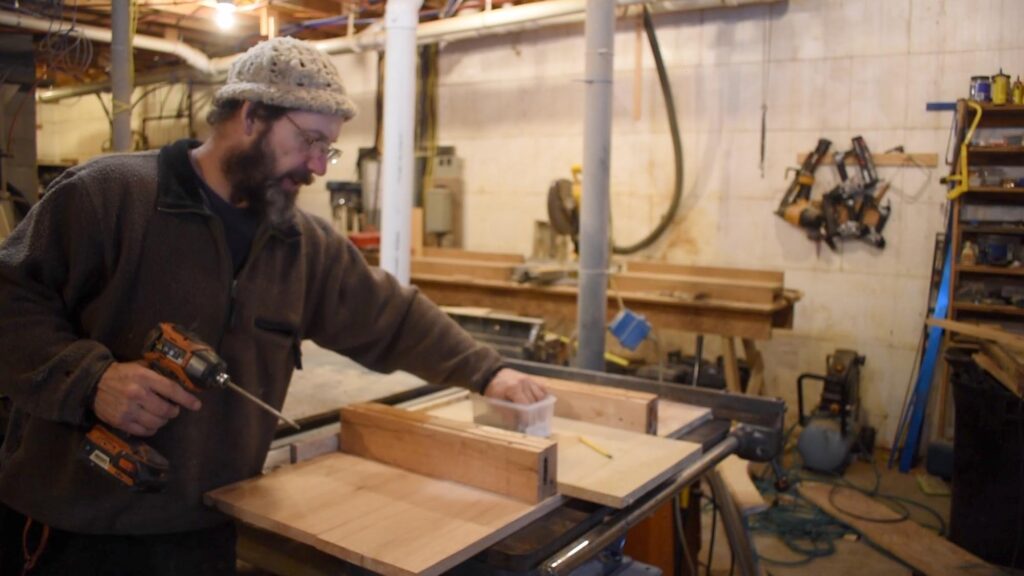
Assembly
I applied some wood glue to each end of the frame, set down a slat into place, pre drilled into the oak, and put one screw in each end.
So, essentially now I had a rectangle with the 2 slats attached to all 4 frame pieces.
I measured the diagonals and adjusted the rectangle until it was square, then laid out all the slats. I stuck a piece of blue tape on every other slat AND on the framing pieces to which it would attach. Â

I hoped this strategy would remind me of which framing piece it was supposed to attach to to reduce the chances of screwing it up (or down depending on how you look at it.)
The strategy worked.
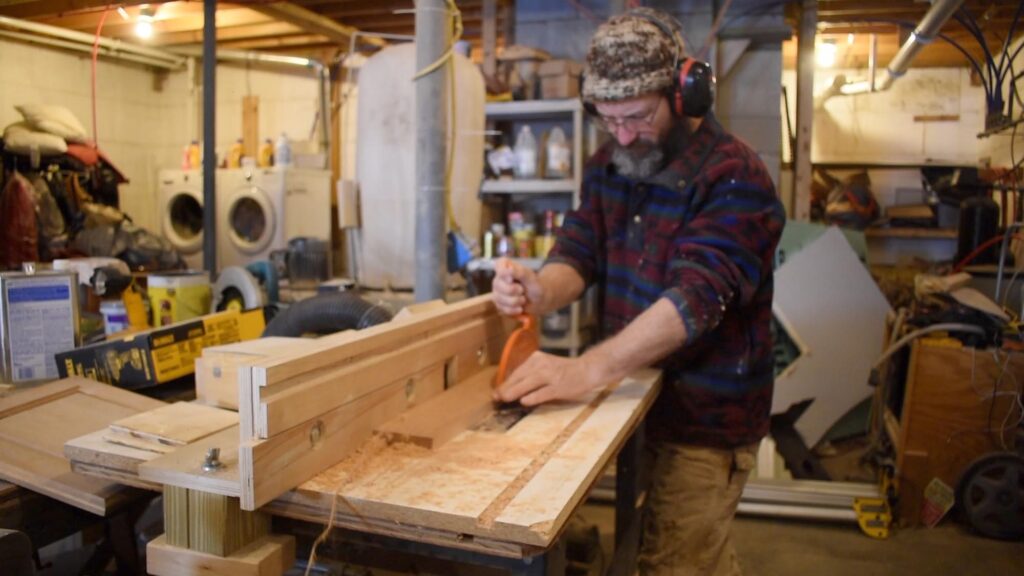
I went down the line…laying a piece of scrap wood ripped to â…œ” next to the first slat as a spacer, then applying glue to the next slat, pre drilling through the slat pre drilled holes into the oak frame then screwing it down.
Move the spacer…repeat.
When I got to the end at “MOMENT OF TRUTH!” time I tried to pull it open.
It was stuck.
Now I was 99% sure that I had done it right and thought maybe I just secured everything so well that it was just tight.
That turned out to be the case. With a pry bar I managed to get the skoolie pullout couch open. To loosen it up a bit I ran a belt sander over the ends of the slats where they slid over the frame pieces. That did the trick.
I attached the pullout top to the couch frame with some door hinges.
Leaf Table
So now I turned my attention to the leaf table.
I needed something that could fold down to 20 inches to fit under the couch, but would open up to 28″ to function as a bigger table or to span the gap over to the nook seats as a bed.
Skoolie Leaf Table Slides
I could buy or build table slides.
At $50 apiece I figured I would build them with materials on hand.
I had some 18″ drawer slides kicking around the woodshop.
I cut 6 pieces of 1×4 oak to 19″.
Using my router table and a 3/4 bit, I routed out a 1/2″ deep x 2″ wide slot in two of the pieces to house the slides.
Then I screwed and glued another piece of the 1×4 oak to the back of each.
Next, I drilled countersink holes in these backing pieces. I used these holes to drive screws to hold the slides to the table top. I also drilled these holes in the other remaining pieces of oak.
After taking the slides apart, I screwed the “outer” part of the slide into the slot, measured where the inner part of the slide should go on the other pieces, then screwed them in as well.
Then I inserted the inner slide into the outer slide and, Voila…table slide for $18 instead of $50!
Building the Skoolie Table Top
In pouring over my woodshop lumber reserves I found several pieces of 1×8 oak. I planed, jointed and ripped them down to 4″.
Since I needed the table when fully closed to be 20″ or less, I glued up a panel of 3 pieces (12″ for you math-challenged folks like me!) and another panel of 2 pieces (8″!).
I kept 2 more pieces at 4″ as leaves in case I wanted the table to be 24″ or 28″.
After sanding them down, I attached a piece of scrap to the front of a small BUT SQUARE piece of plywood. Hooking the piece of scrap over one of the table panels kept the plywood square to the panel. Â
I set both panels tight together, pushed the slides up against the sides of the plywood to make sure they stayed parallel, then screwed them into each table top panel.
The Table Leg Problem
I had originally planned to install folding legs onto this table.
However, with the drawer slides sticking down 3 1/2″ below the table I couldn’t really get the legs to fold the long way down the table.
And going across would only give me legs 20″ long. Which would be great if we planned on sitting on the floor.
We don’t.
Oops again.
I had to rethink the table legs.
How can I build table legs that can come into play when I want the table in table mode, but can go away when in storage or bed mode?
Threaded inserts
Threaded inserts would allow me to screw and unscrew table legs.
So after a quick jaunt to the hardware store I returned with 4 threaded inserts and “hangers.”
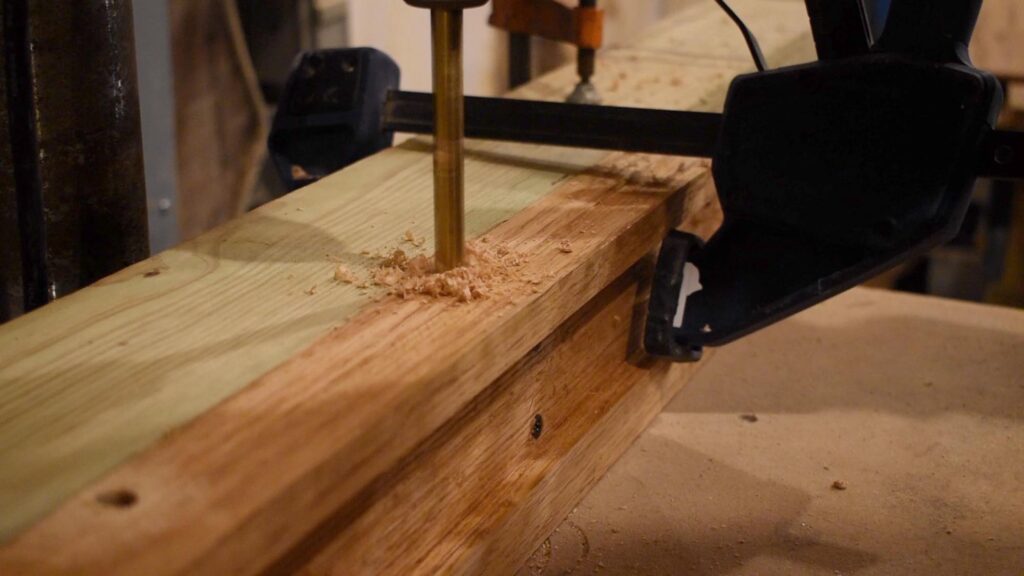
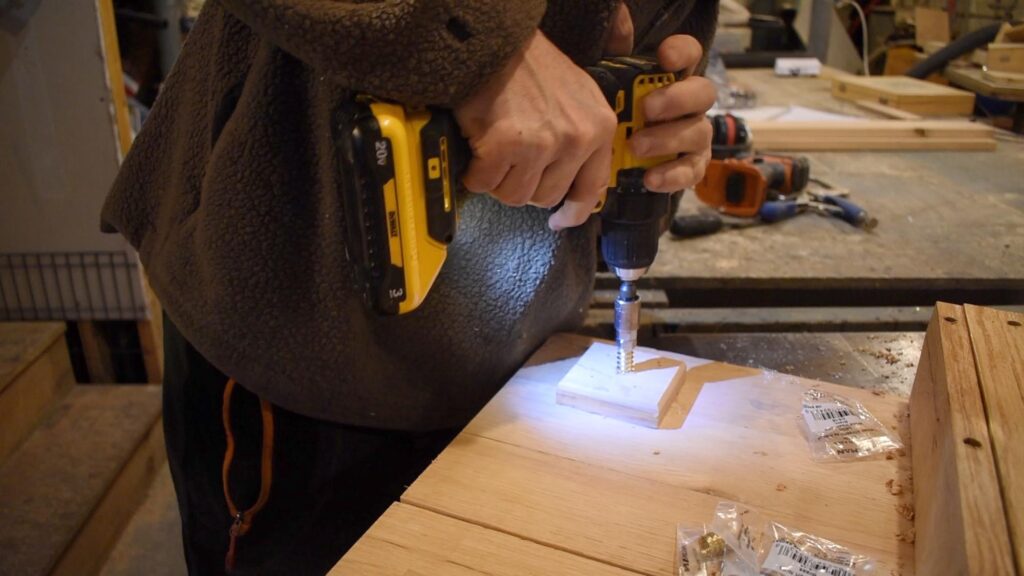
I cut 4 2″x”2x 3/4″ blocks and pre drilled holes in the center for the inserts.
I glued and finish nailed these blocks 2″ inside and underneath each corner of the table.
Then using a highly sophisticated “threaded insert tool,” (Two nuts threaded onto a â…œ carriage bolt) I screwed the inserts into the predrilled holes.
For some reason I felt that screw in legs should be round. I guess I think that if they’re round it won’t matter as much where they are in rotation when the threads get tight.
But it would have cost me at least $30 for 1″ oak dowels and even then 1″ seemed thin.
Table Legs
And I didn’t have any round stock kicking around the woodshop.
But I have a chain saw.
And lots of birch trees.
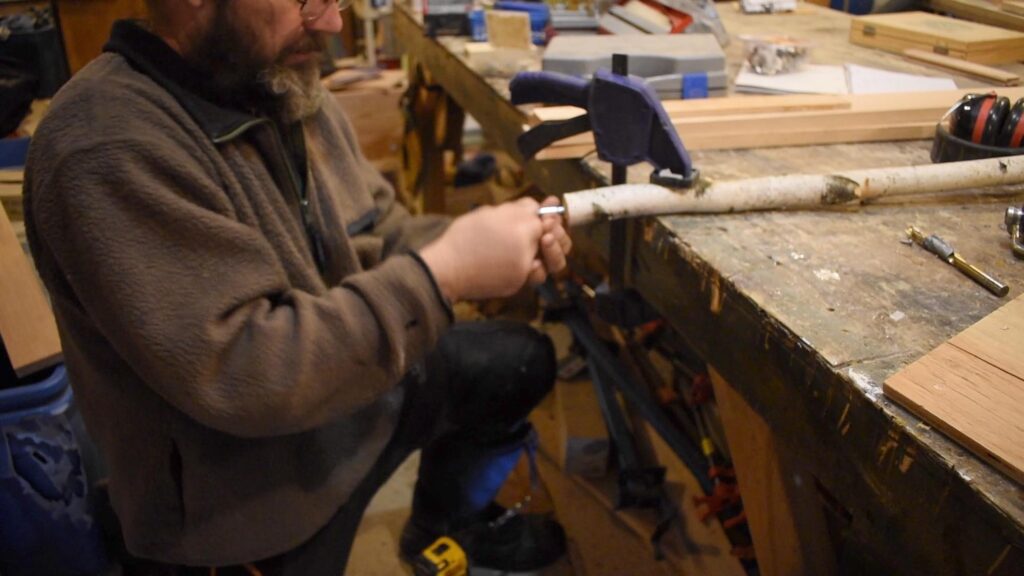
So I fired up the Husquvarna and trimmed the forest of a 1 1/2″ diameter birch tree.
I chopped the tree into 28″ sections, pre drilled the ends and installed the hangers. After drilling 5/16″ holes in the wider end of the legs I used the same bolt and double nut trick to drive the hangers into the legs.
After building the legs I screwed them in for a table test.
They worked!
A bit wobbly…but I think I can live with it. It will be in a small space.
I applied two coats of oil-based polyurethane to the table.
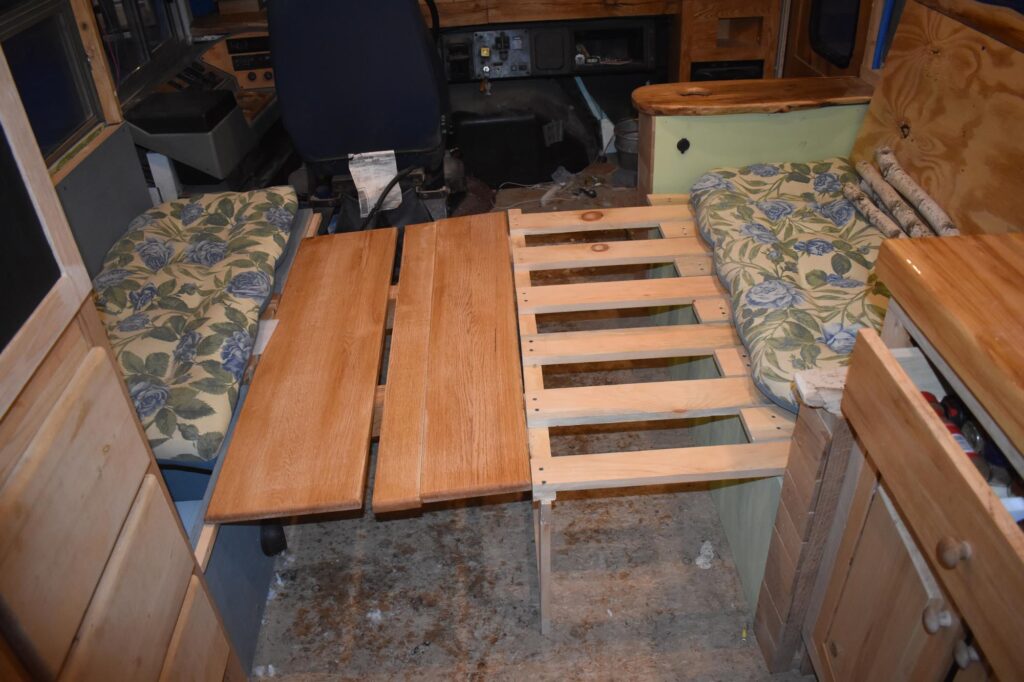
Testing the Table
The table folds up easily and slides into the space under the couch seat.
It takes me 4 minutes to pull the table out and screw in the legs.
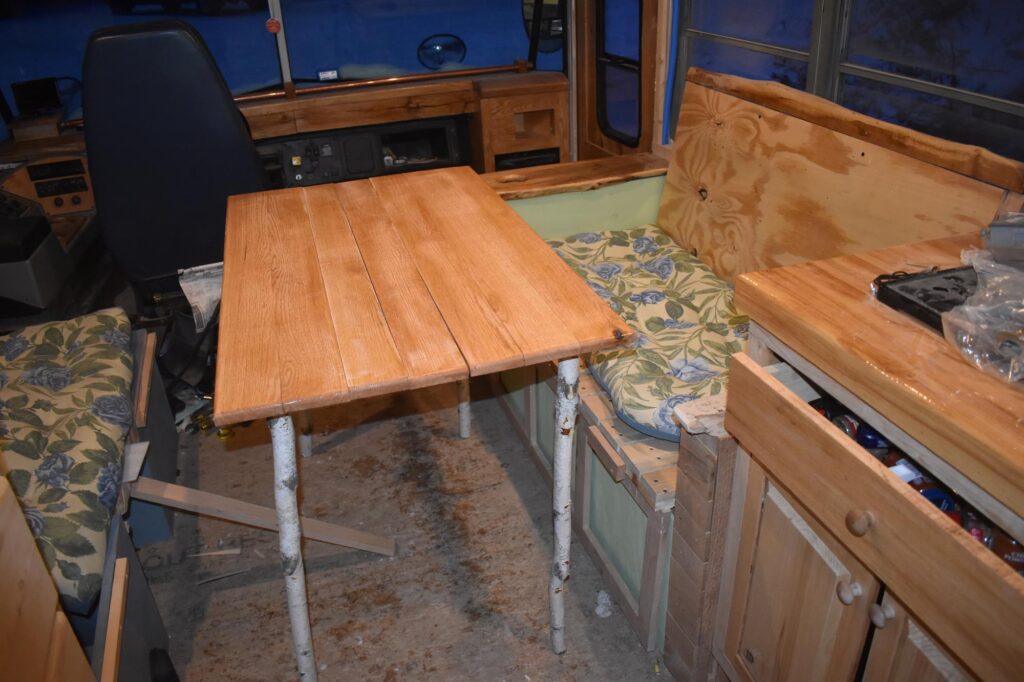
It also fits well to extend the bed to “Full” size.
The leaves tend to separate a bit, though, so I may install some latches on the bottom to help keep it all together.
In addition, because of a slight warp in the leaf boards, they don’t sit exactly level on the sliders in relation to the two outside leaves. So I might put some dowels in all the leaves in order to create a more uniform surface.
We’ll see.
I don’t have a doweling jig so that process might be a little trickier than its’ worth.
Or it will give me an excuse to buy a doweling jig!
Once again, thanks for joining me on this adventure. Feel free to ask any questions or post reactions in the comments!
All the best,
Ted