
Hooking up a skoolie backup camera just seems like a good idea.
I remember first preparing for my CDL and finding only using mirrors to guide this mammoth of a vehicle around intimidating to say the least.
The more practice I got under my belt, however, the better I became.
Funny how that works.
But safety is a factor.
Most schools that I know of arrange their traffic patterns so busses don’t have to back up when there are children present.
That’s not the case in most campgrounds.
In many places you need to back into a site, snake between two trees, dodge kids on bikes and not crush the picnic table. At night.
While I feel though I have the ability to do this, why increase the risk when a $50 investment could save lives?
No brainer for me.
Wiring to the Console
I wanted to wire the skoolie backup camera to a console switch rather than tapping into the backup lights wire.
Generally, people tie the backup camera power lead wire to the power lead of the backup lights. When the driver puts the vehicle into reverse, a switch sends power to both the backup lights and the camera.
However, I think there may be times where I want to see what’s behind me while driving down the road.
And slamming the bus into reverse at highway speeds to peek behind just seems like a bad idea.
Moreover, I am considering the idea of mounting another camera inside the bus as a way of being able to see the interior of the bus. For those moments when there’s a crash when something falls over…perhaps. It would be nice to be able to flip a switch and turn that camera on.
So, I picked through my “Salvaged electrical stuff“ box from the bus deconstruction and pulled out a 2 way switch and its wiring harness. You can see how I removed all the necessary wiring without disabling the bus here.
Skoolie Switch Parts
On my bus, a 2003 International Bluebird, my switches are mostly two-way or three-way. Three-way switches provide three options: High, low and off. (Most of the fans, for example.)
The light switches, like the overhead and stairway lights, have two options: on and off.
The switches have 4 or 5 spade plugs on the back which plug into harness from which wires extend.
On my bus, the two top spades connect to wires that feed the light bulb in the switch that illuminates when I flip on the headlights. The blue wire feeds the power and the white wire connects to a ground bus.
The power leads protrude below the light connectors.
Testing the Switch
To determine which spades feed which sources, you can use a multimeter to check continuity.
Turn your multimeter to the continuity setting, usually depicted by an icon that looks like a volume control.

Then touch the black and red probes to the different spade connectors.
With the switch on, the multimeter should sound a tone when you probe the two spade connectors on the same circuit. When you flip the switch off, the tone should silence as well.
To test a three-way fan circuit, turn the switch to low, then probe the different connectors and find out which combination gets the multimeter to tone. Once you have, flip the switch off and make sure the multimeter tone silences.
Then repeat the process for the “high” setting.
Testing for Voltage
Most vehicles use a 12 volt system. That being said, CHECK YOUR VOLTAGE BEFORE HOOKING UP YOUR CAMERA!
Running too high a voltage to your camera could wreck it and / or melt wires.
To check your voltage, turn your multimeter to the 20 Volts setting. Next, turn the ignition key to “on” (not start). Then connect the red probe to the power bus bar and touch the black probe to the ground bus bar. Your multimeter should then provide a readout of the voltage.
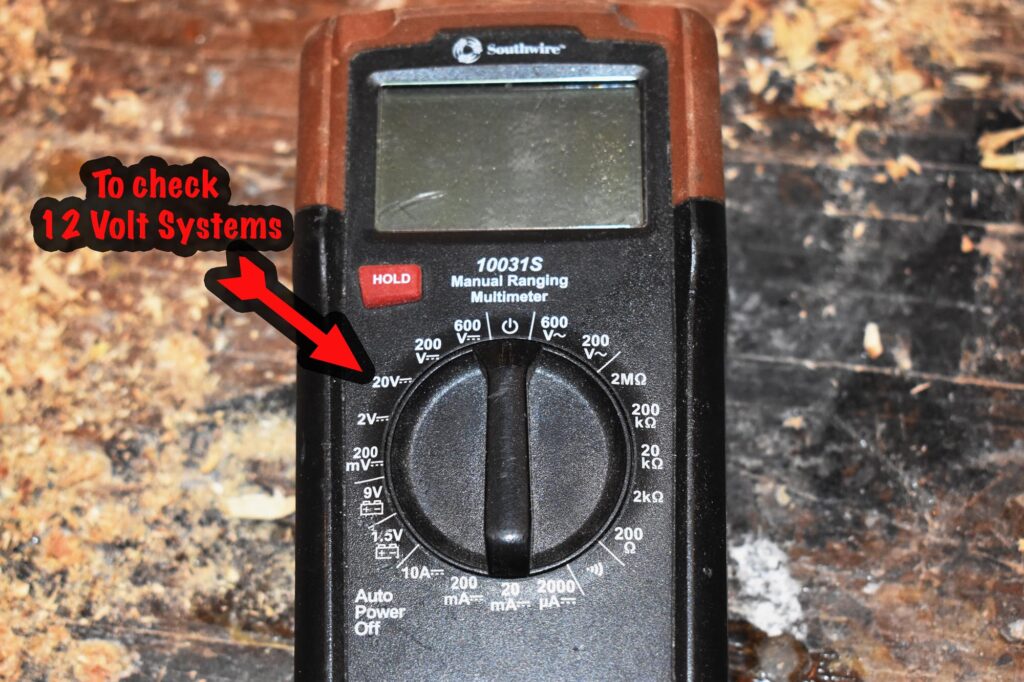
You should be getting around 13 volts.
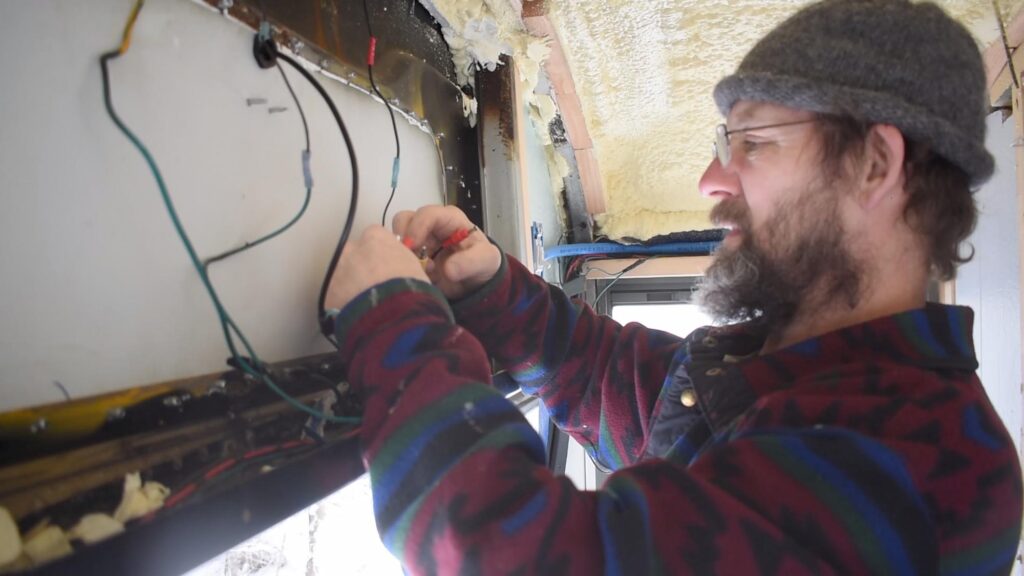
Wiring the Skoolie Backup Camera Switch
In order for DC power to work, voltage must come into the device, then return to its source through a ground.
The switch works by interrupting or restoring voltage flow.
Thus, I wired one of the power connection spades from the harness to the power supply in the bus electrical box. From the other power spade connector I ran a wire to the power input of the backup camera. The ground wire from the camera I wired to the ground bus bar.
I connected the white and blue wires from the harness to their respective pairs also in the electrical box.
I used solder seal wire connectors.
Love ’em.
They combine the strength of soldering, the ease of crimping, and the moisture protection of shrink wrap.
I simply pushed the ends of wires into each end, then used a lighter to melt the solder in the butt connector and shrink wrap the plastic.
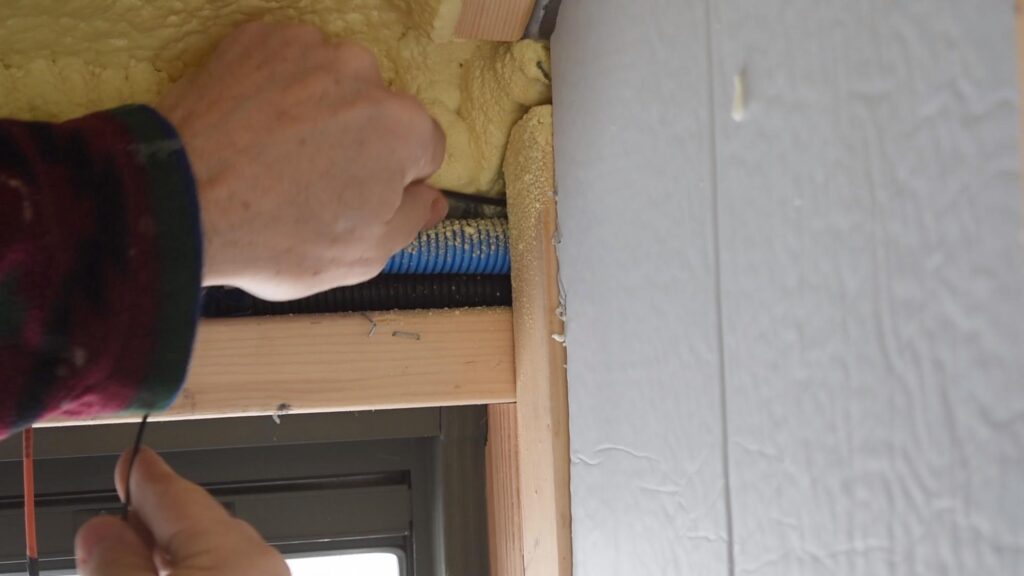
Fishing the Skoolie Backup Camera Wire
I was pretty good about running all my wiring in conduit to protect it.
I was less good about thinking ahead and giving myself room to run more wires.
So I had to leave the camera wire outside of the conduit.
Naked.
Well…not exactly…it has insulation. But I would have preferred to leave myself more room to protect it from rodents or rubbing in conduit.
As it was, I had a challenging time fishing wire down along the bus wall and behind room walls from the console to the rear wall of the bus.
In a couple of instances I duct taped a straightened wire coat hanger to the end of the wire to help fish it behind cabinets.
The RCA plugs were awkward, got stuck a few times and elicited some muttering from me”¦.
Protecting the Skoolie Backup Camera Wire with a Gland
At the back of the bus I had to drill three holes: one for the power / video feed wires for the camera and 2 screw holes to hold the camera bracket in place.
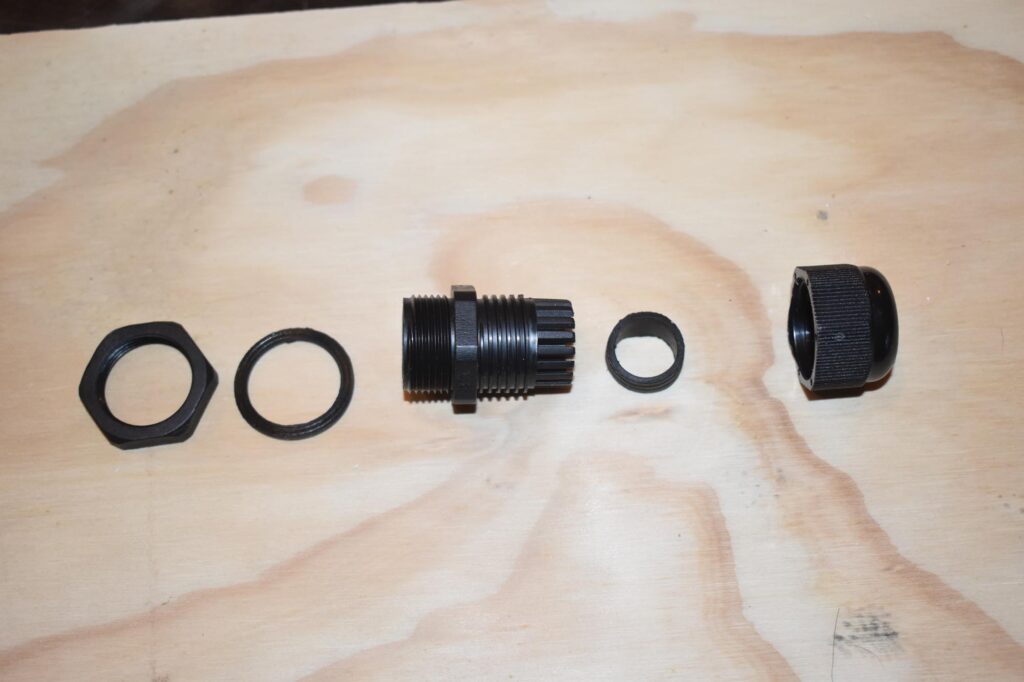
To protect the wire against metal rubbing against the insulation and to protect the metal from water getting through the hole, I used a “gland.”
Glands are plastic and rubber “ports” that you insert into a predrilled hole and run the wire through.
Glands have a rubber O-ring that sits between the outside metal of the bus and the gland body, a nut that screws onto the threads of the gland body inside the bus, a rubber bushing that squeezes around the wire, and an outside nut that compresses the rubber bushing.
I drilled a pilot hole first near the top of the rear bus wall. Then, using a step bit, I enlarged the hole to 11/16″ to fit the gland.
Next, I put an O-ring around the threads of the gland body, inserted the body into the hole, then tightened the inside nut.
I pushed the camera wires through the exterior nut, the bushing, then through the gland. Then, after leaving myself a few inches of slack in order to be able to position the camera, pushed the bushing into the gland then tightened the exterior nut.
To complete the wiring I simply plugged the camera wire plugs into the plugs of the supply wire that I had previously fished.
Mounting the Skoolie Backup Camera
I placed the camera in its mounting bracket up against the bus where it would sit, then marked the holes where the mounting bracket screws would go.
With a 1/16″ drill bit I drilled the holes, then put a dab of silicone over each hole to prevent water from getting in.
Next, I pried the bracket from the camera, screwed the bracket into place, then snapped the camera back onto the bracket.
Finally I screwed in the 4 itsy-bistsy-teeny-weeny screws through the sides of the bracket and into the camera to hold the desired angle. (I only dropped them twice.)
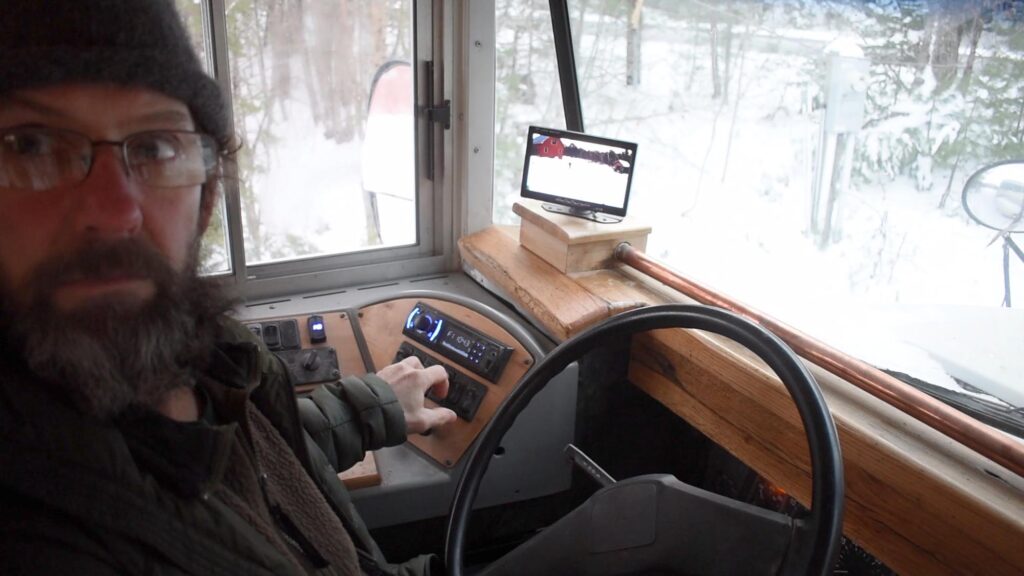
Mounting the Skoolie Backup Camera Monitor
Mounting the monitor was easy.
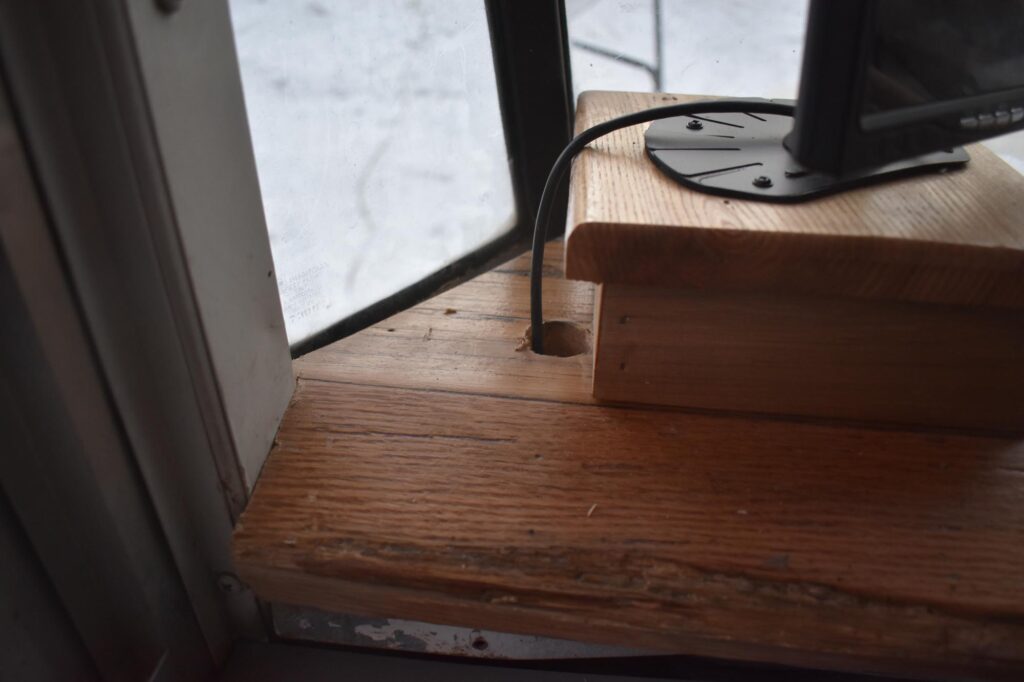
Fishing the wire down under the console and plugging it in without ripping the wires out of all other switches was hard!
I propped up the monitor on a little “defrost platform” that I built for the oak dashboard to figure out the best placement.
Next, I drilled a hole behind the platform to run the monitor wires under the console. In order plug the monitor wires into the camera wire that I had just fished to the back of the bus I had to pull out the console switch panels…without yanking off all the wires.
It tested my patience.
But I finally managed to get the wires together and plug them in!
Testing!
I fired up the bus. (Not a bad idea, I thought, to run the bus a bit and charge up those batteries!)
I flipped the console switch”¦
Nothing.
Oh, wait…there’s a power switch on the monitor, too”¦
So pressed that button”¦
Victory! I can see behind the bus!
Skoolie Backup Camera Conclusion
I am happy to have hooked up the backup camera to a switch on the console. I will enjoy the convenience of flipping a switch and checking out what’s creeping up on me.
Even better, I could repurpose original wires and switches!
Most importantly, when backing up a 20,000+ pound vehicle, having a set of eyes in the back serves as extra insurance to keep property, and more importantly, people, safe.
As always, feel free to reach out or ask questions in the comments!
All the best,
Ted