
Using the appropriate Skoolie tools can make a difficult process much easier and less stressful. In fact, choosing the right tools can be the difference between getting frustrated and giving up, or savoring a project that you completed yourself.
Using the right tool for the job also saves time…and time is one of your most valuable resources!
Skoolie Tools for Cutting
Grinders
I used a grinder as one of my first Skoolie tools for my first bus conversion project: removing the seats. Not only were the bolts rusted, I did most of this project by myself, so there was no one to hold a ratchet on the bolts underneath. The only practical way to remove them was to cut the bolts by starting a wider groove with a grinding wheel, then finishing them off with a cutoff wheel.
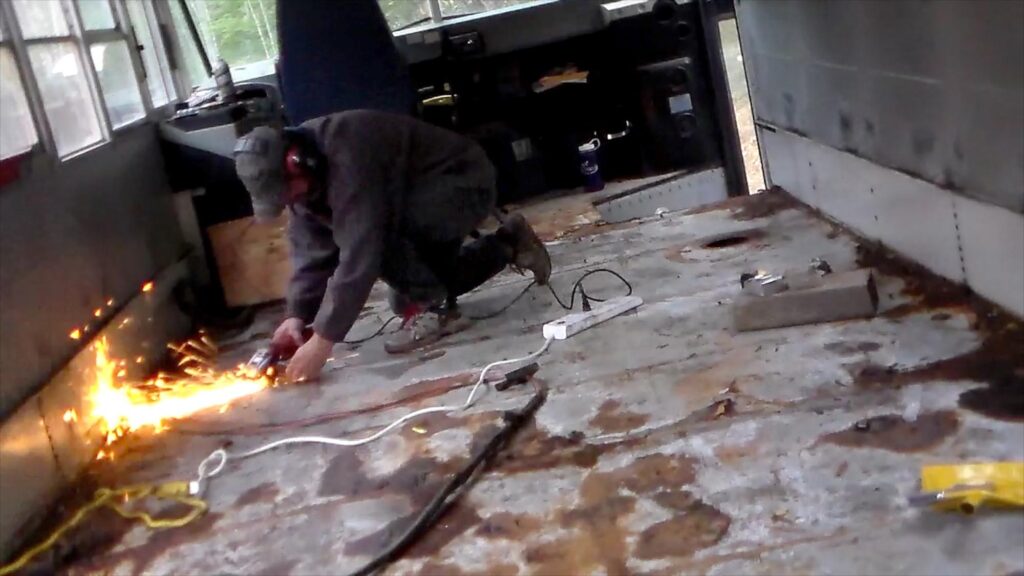
I found the grinder valuable innumerable times after. I used a grinding wheel, a flap disk, and a wire brush attachment invaluable for getting rust off of the skoolie floor or sharpening an air chisel.
In short, many times working with metal I relied on my angle grinder.
Saws
Construction comes down essentially to cutting materials to size and attaching them. In order to properly and safely cut them, the appropriate tools are essential.
Skill Saw
If I could only have one saw as one of my Skoolie tools, it would be a Skill Saw just for its versatility. In can perform cross cuts (cutting wood across the grain), rip cut, (cutting lengthwise along the grain), or, with a special blade cut metal.
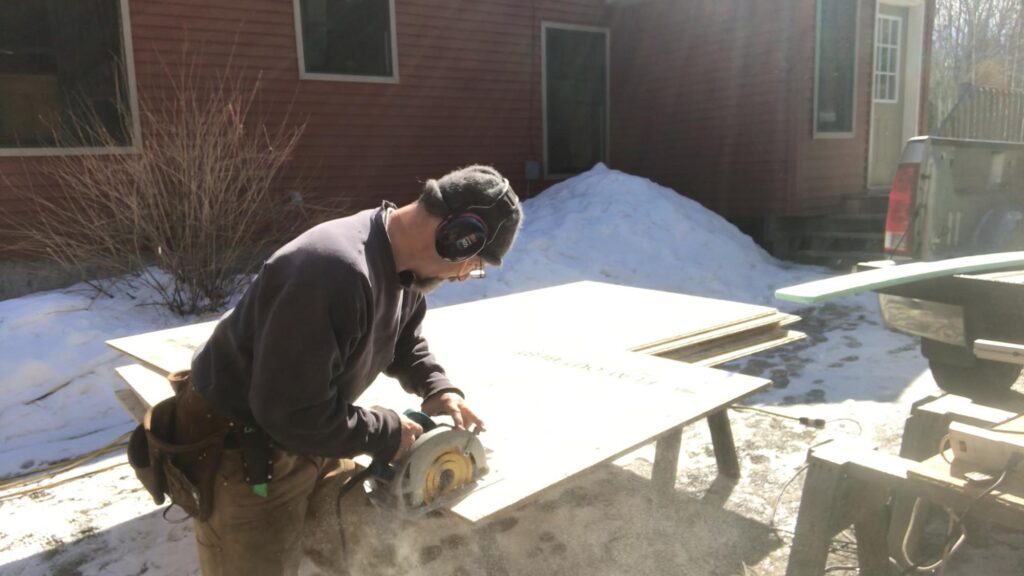
The down side of any “hybrid” object, however, is that they’re effective for many uses but excellent at none. It can be tough getting a square, straight cut using a Skill Saw. There are some tricks you can use…but that’s another post!
Chop Saw
Unlike a Skill Saw, a chop saw, formally known as a compound miter saw, is great for making perfectly square or angled cuts. They also cut much faster than a skill saw…both in the mechanics of cutting but also in the tool’s ability to work with a jig to make repeated cuts (again…subject matter for another post!)
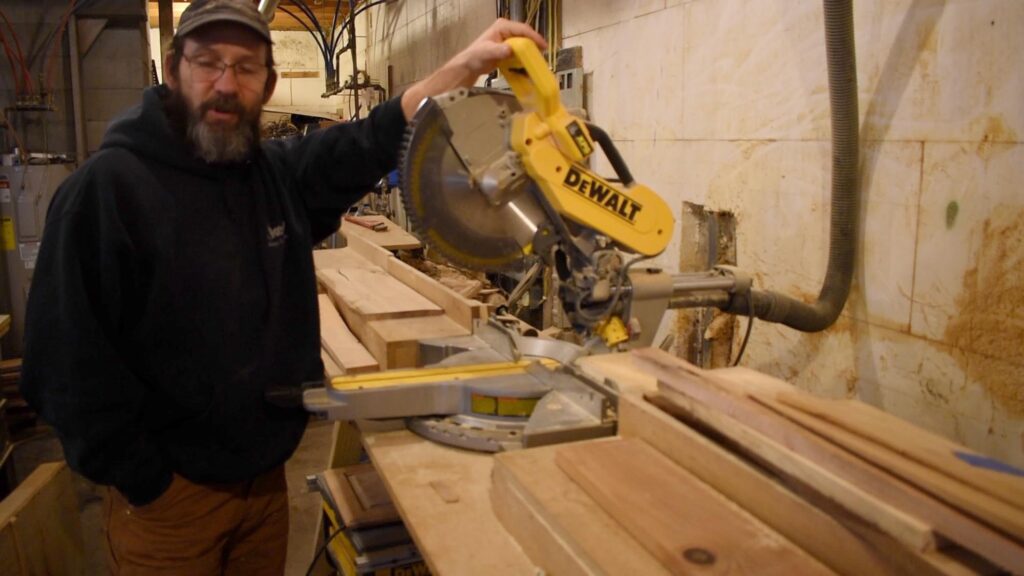
Miter saws come in a variety of brands and sizes. Larger saws are great for precisely cutting wider boards at an angle. However, if you won’t be working with wide stock or making multiple bevel cuts like crown moulding, a simple miter saw will work just fine.
Table Saw
Table Saws can be used for a variety of functions. At its basic level it excels at ripping lumber: making long cuts along the grain. For example, to cut an 8×4′ piece of plywood down to 8 x 2 1/2 feet, you could run it through a table saw. Because the fence helps the blade maintain a consistent distance on the material, the cuts tend to be much straighter than using a Skill Saw.
Table saws can be used for so much more, however. With a sled on a table saw you can make cross cuts (and with a jig make them repeatable). With other kinds of jigs and sleds (all of which you can build fairly cheaply with scrap wood) you can straighten crooked boards, cut tenons, carve mortises, and make grooves.

I love table saws so much that I have two. I have a large one set up in my shop with an outfeed table and a small Dewalt that I can carry out to the bus if I don’t want to run back and forth! I love the “dial a width” function. It’s super accurate and handy when I put my tape measure down somewhere and can’t find it….
Bonus Tool: I wasn’t going to include this as critical, but, on second thought, I used my jig saw quite a bit for cutting curves for pieces around the rounded skoolie roof!
Drills
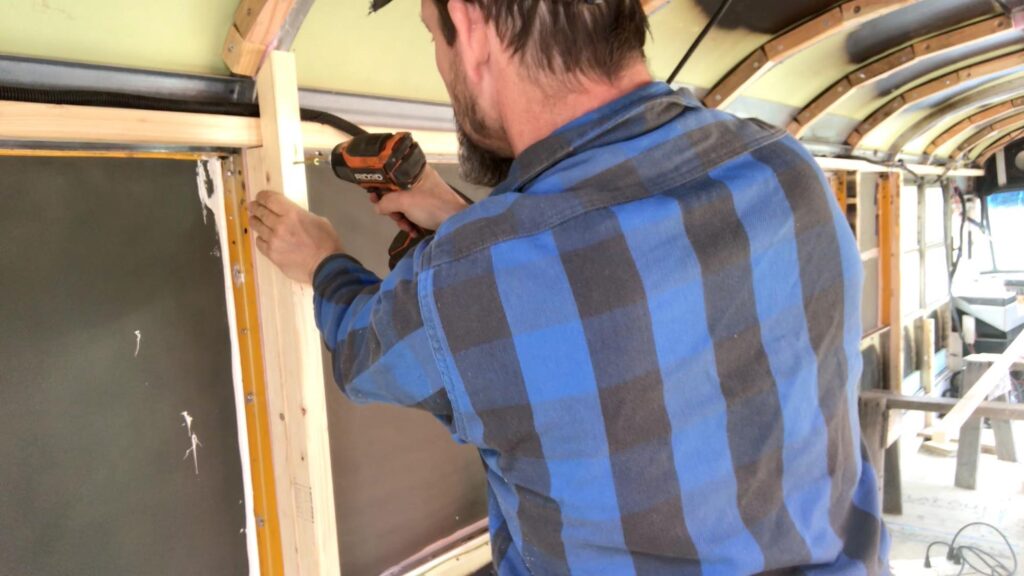
I used a variety of “drills” almost every day on the skoolie conversion. I used my Corded 1/2″ Milwaukee Drill, my old Dewalt Cordless Drill, and my Rigid Impact Driver.
Impact Driver
Impact drivers work by using a spinning mechanism to deliver a hammer stroke force to the shaft. This action provides additional force. I found this particularly useful while driving self-tapping screws through furring strips and into the ribs for the walls and ceiling, for example.
I also found it useful removing rusted bolts and screws. The extra vibrations of the impact driver I think help rattle those suckers loose!
I also have 1/4″, â…œ” and 1/2″ chuck adapters that I LOVE for using sockets with my impact driver. Rather than monkeying around with a ratchet, cranking away with the impact driver makes the process exponentially faster.
While impact drivers are great for screwing things in and out, they aren’t equipped to drill. So, if you can only budget for one, you need to have a drill.
Drills
Cordless drills are convenient for the obvious reason: you don’t need to plug it in. And the new lithium batteries provide quite a bit of power.
If you can afford it, I recommend purchasing multiple batteries, though, so you can switch batteries and keep working while the other one charges.
Corded Drills
Although you have to deal with the hassle of tripping over extension cords, you don’t have to worry about running out of batteries with corded drills. In addition, they often pack significantly more power than battery ones.
Skoolie Tools for Measuring
Although this section seems pretty obvious, perhaps you will find some suggestions here worth noting!
Tape Measure
Tape measures come in a variety of lengths and qualities. I prefer a 25′ tape. I find 30 footers bulky and heavy. I also like thicker tapes that you can reach out 10 feet or so before they flop down in classic cases of tape impotence.
Whatever length tape you have, try to avoid pulling it out to its maximum length…this will often result in it not going back in. (Imagine trying to stuff toothpaste back into the tube)
Squares
I didn’t use a level that much to make things level during my skoolie build. In my driveway I found it near impossible to park the bus level anyway, so anything I “leveled” in relationship to the ground wouldn’t be level in relationship to the bus.
I used my drywall T-Square quite a bit trying to keep wall studs plumb (square to the floor!).
I used a speed square for smaller squaring applications. (checking the square of a cabinet carcass or a drawer box).
I used my combination square often to set the depth of my table saw blade.
Joining
Kreg Jig
I used my pocket hole Kreg Jig over and over on my build. This handy device allows you to predrill holes at an angle in a piece of wood. Then you use a square bit driver to screw in special screws to hold wood together.

I used it for wall studs, cabinet carcases, face frames, drawers, and assembling the couch.
I definitely recommend investing in a Kreg Clamp as well. Without it, the angle of the screw hole tends to push material off line. Using the clamp helps keep pieces in place for more accurate assembly.

Skoolie Tools for Safety
Eye
After completing your build you are going to want to get out and see the beauty of the world, so be sure to protect your eyes! Grinding rust sends sparks and metal particles flying. Saws belch out sawdust. I highly recommend eye protection that shields the sides of your eyes as well.
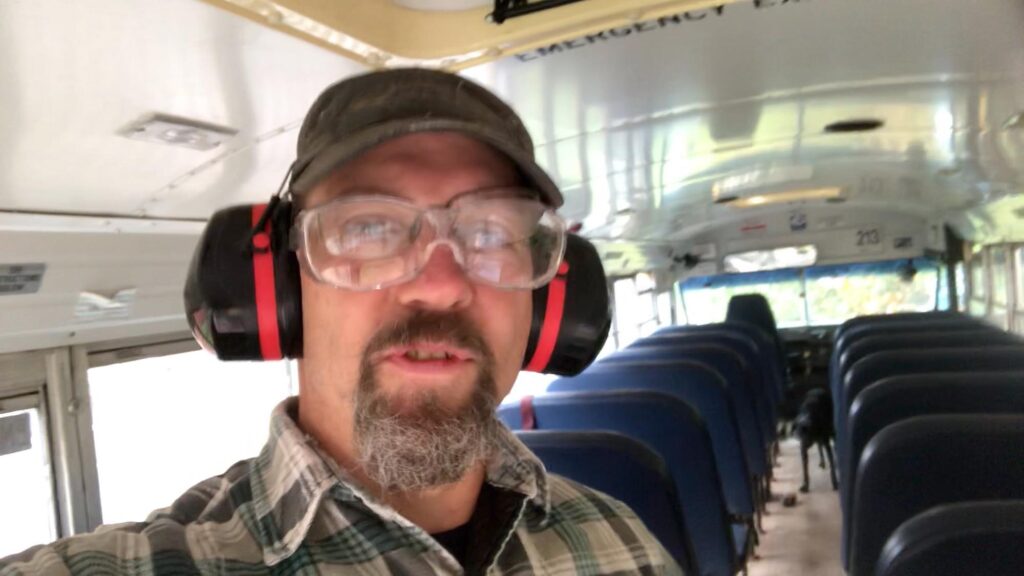
Ears
Power tools are LOUD! And cutting metal, especially, with power tools is even LOUDER! You will definitely want a good pair of ear protection.
I find things stuck in my ears uncomfortable…I don’t even like earbuds. So I opt for the big bulky earmuff type. I also find that they’re obvious so I don’t lose them in the shop somewhere!
Lungs
I confess I don’t wear a respirator in the shop as much as I should. I like the smell of wood and use a dust collection system to cut down on dust Even then, with projects that involve a lot of cutting (like the butcher block countertop) my throat feels scratchy by the end. I should wear it more in situations like this.
In the wood shop, I could probably get away with wearing more of a dust mask, however, I wore the respirator much more consistently when grinding that nasty rusty floor!
Even more importantly, I wore it while priming and painting the bus. The hardener chemical I used is really bad for the lungs so I wanted full protection!
Bottle Openers
Often critical to have bottle openers on hand. Often when that piece you’ve measured carefully and doesn’t fit you need to take a step back.
Or…after a challenging day of bus building it’s time for an early evening reflection period to examine your and imagine the freedom days of the road ahead.
Or, even more critically, when the crew shows up to help and you need to reward everyone for a job well done you can break out the beverages!
Skoolie Tool Conclusion
I hope that this has been helpful in fleshing out the Skoolie tool box. I’m sure there are people out there who could build a bus with a jackknife and some duct tape, but I’m not one of them.
These are the tools that I found most important in our build process.
I found others useful and certainly worth the money, but that would have to be another post at another time!
Thanks for reading; best of luck on your build!