
We knew the skoolie dashboard had to go.
Now skoolies are, by nature, very cool. But the stock dashboards are UGLY!
And being a purveyor of beauty I opted to match the wood look of the ceiling, kitchen and bulkhead with natural wood.
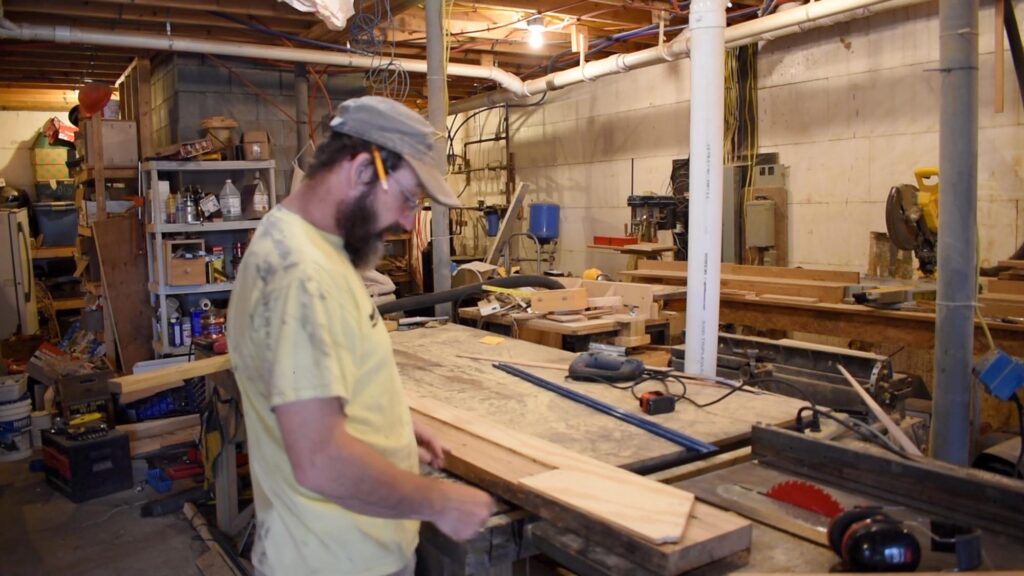
I have had this old oak stair stringer recycled from a barn kicking around in my woodshop for years. Laboriously I had dug out old cut nails from it and run it through the planer.
I loved the grain and the distressed look of the nail holes and it was just about the perfect size for that space.
The skoolie gods speak again!
Scribing a Template
Skoolie Dashboard Template 1.0…Plywood
The dashboard space presented several challenges.
The multiple three-dimensional angles tucked in behind the steering wheel and in front of a sloping piece of glass made measurements and installation difficult.
Plus, with only one piece of antique oak on hand, screwing it up wasn’t an option.
I decided to create a template…multiple templates, actually, as a test fit.
I find one challenge with scribing is getting the scribing medium to stay in place. Paper and cardboard often flop around and shift compromising accuracy. Plywood can be stiffer, but often tough to tape in place of work into tight spaces.
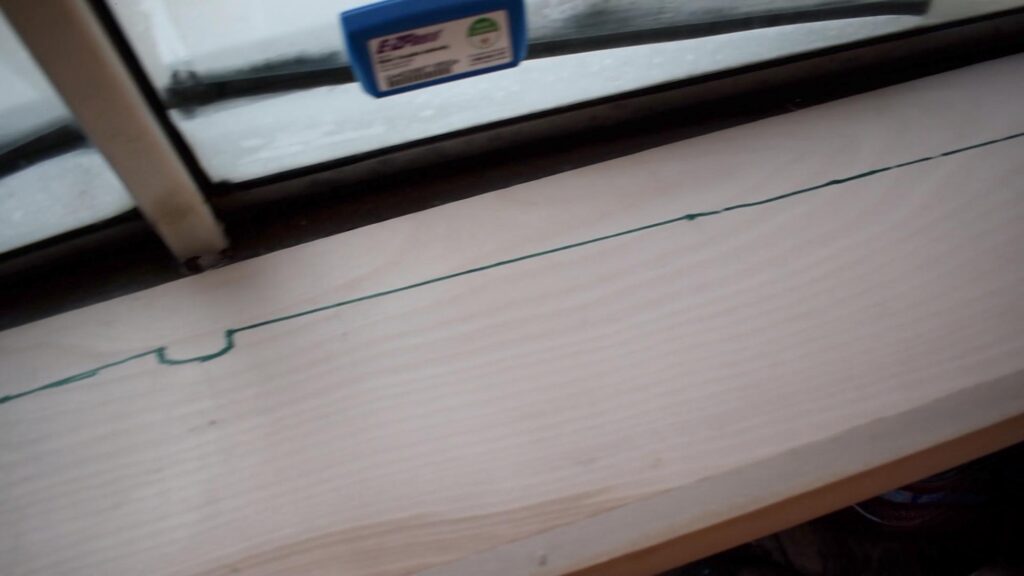
For this project, I clamped a piece of 1×2″ maple across the front of the dash to get a consistent reference point. Then I set a piece of 1/4″ plywood inside and pressed it tight against the maple.
I set my fancy-dancy-home-made-scribe-stick against a speed square, and scribed the lines marking the windshield along the plywood.
Next, I took smaller pieces of cardboard and set them on the ends of the dash. The spot where the dashboard meets the sides of the bus were tricky to get facing the front, so I scribed these profiles from the side.
Using an exacto knife (well…I broke the knife trying to get a new blade in it, so I just used the blade) I cut out each shape, then fitted them onto the dashboard area.
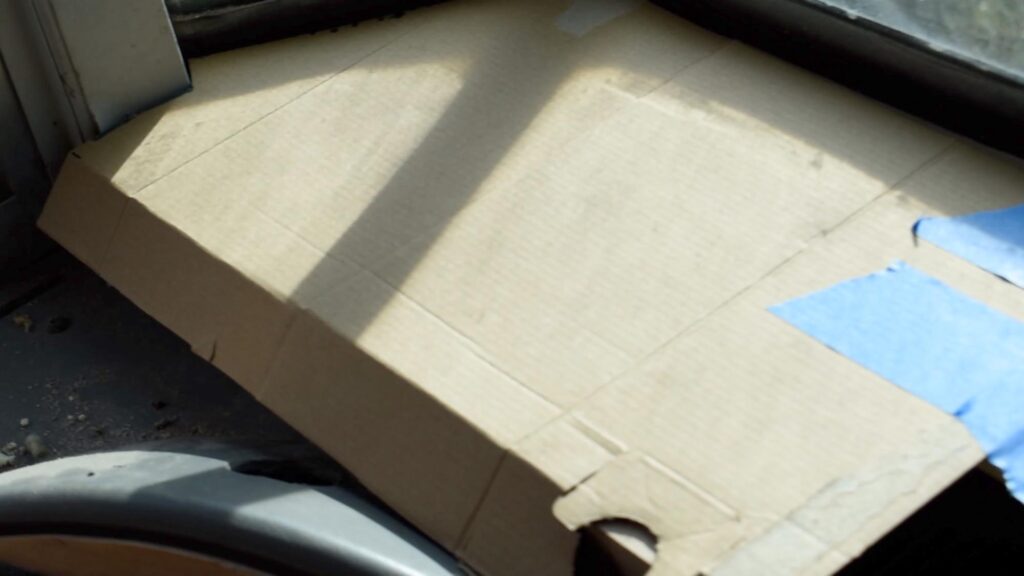
With some masking tape, I taped the three pieces together to form one template.
Then, I set it once again on the dashboard, traced the curve cut out on the inside edge, and cut that part out.
Skoolie Dashboard Template 2.0…1/2″ Plywood
Part of me was tempted to trace the cardboard template directly to the antique oak.
HOWEVER, I knew the fit would be tricky. The multiple pieces of cardboard would inevitably yield imperfections. So I decided to trace the cardboard shape onto a scrap piece of 1/2 plywood. The “one-piece” template would give me a better sense of the fit.
So…trace, trace, trace. Cut, cut, cut, (with a skill saw and jig saw), and I had a skoolie dashboard mock-up!
I carried it out to the bus in eager antici…¦.(“say it…say it!:) pation.
It fit!
And I became immediately grateful that I had opted for template version 2.0.
Getting the shape right had occupied all available RAM in my brain. And I forget to account for the apron that would extend down underneath the dashboard. So I needed an additional 1″ on the inside edge.
Fortunately I could make this adjustment.
So, I placed the template on the piece of oak, traced the shape adding my 1″, then used a skill saw to cut it out.
Building the Skoolie Dashboard
Shaping
The piece of oak was just a bit too narrow.
This actually worked out well because just at the point where I ran out of width, the ends of the dashboard sloped downward. So I needed to attach pieces at an angle there.
Using my angle measuring tool I copied the angle from the dash to my table saw blade. After cutting another piece of the oak to length, I ripped the angle down the side.

Joining
Using my Kreg Jig, I cut pocket holes.
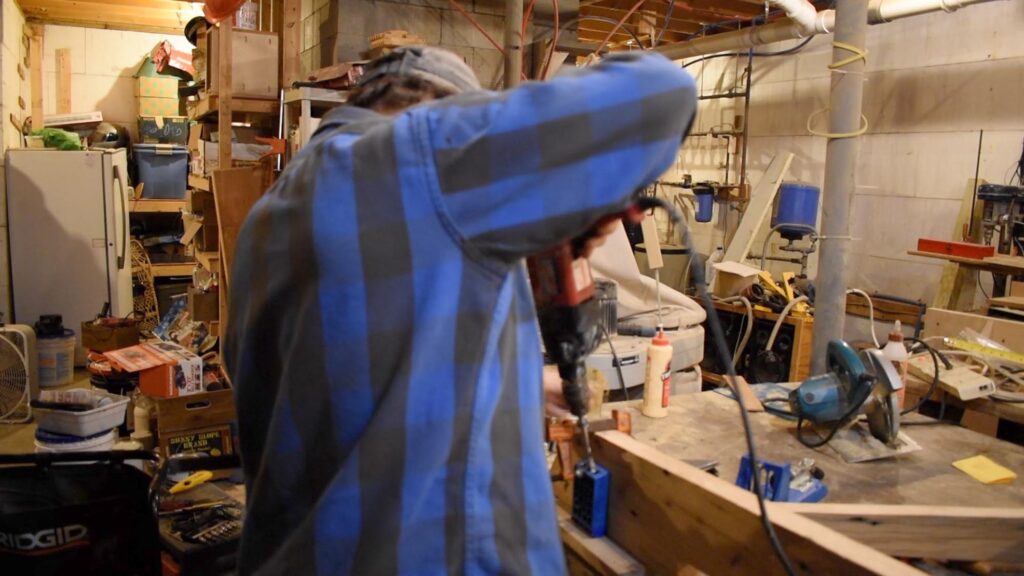
I worried a bit that it would be difficult to keep the angled piece to stay put while I screwed it in, but it turned out okay.
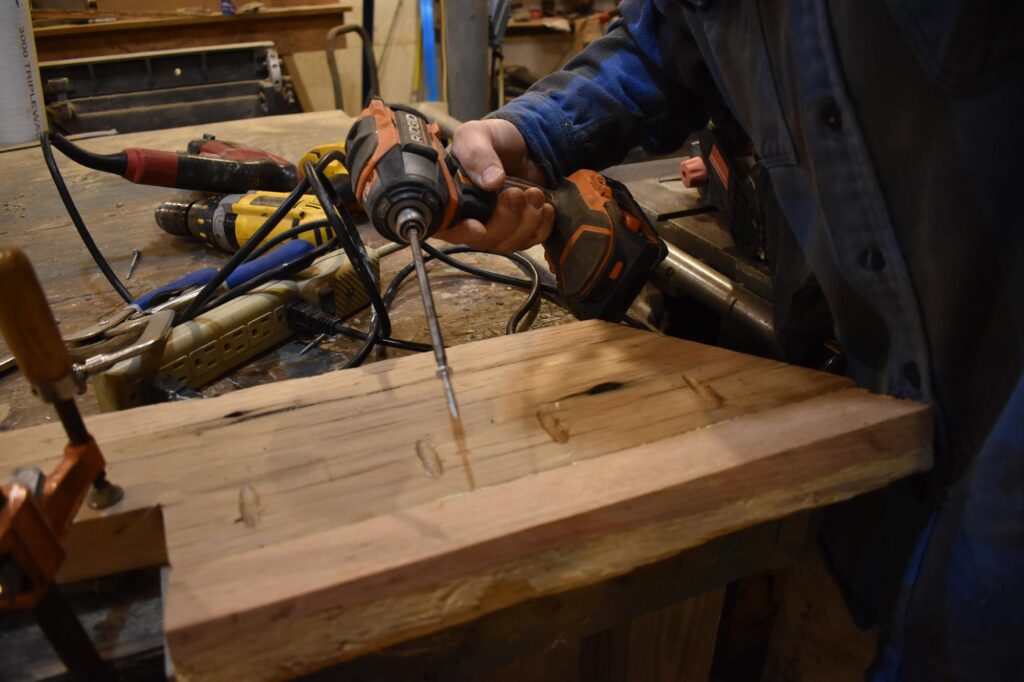
My Kreg Clamp held it all in place and another clamp to hole the proper angle, then used my impact driver to get the first screw in. (I had already smeared glue on both faces). Once the first screw held everything together I found it easy to keep the pieces in place as I drove in the additional screws.
The joints turned out pretty good! I had a few small gaps, so I mixed up some oak sawdust that I pulled from the belt sander bag, mixed it with wood glue, then used a plastic epoxy spreader to work the mixture into the gap.
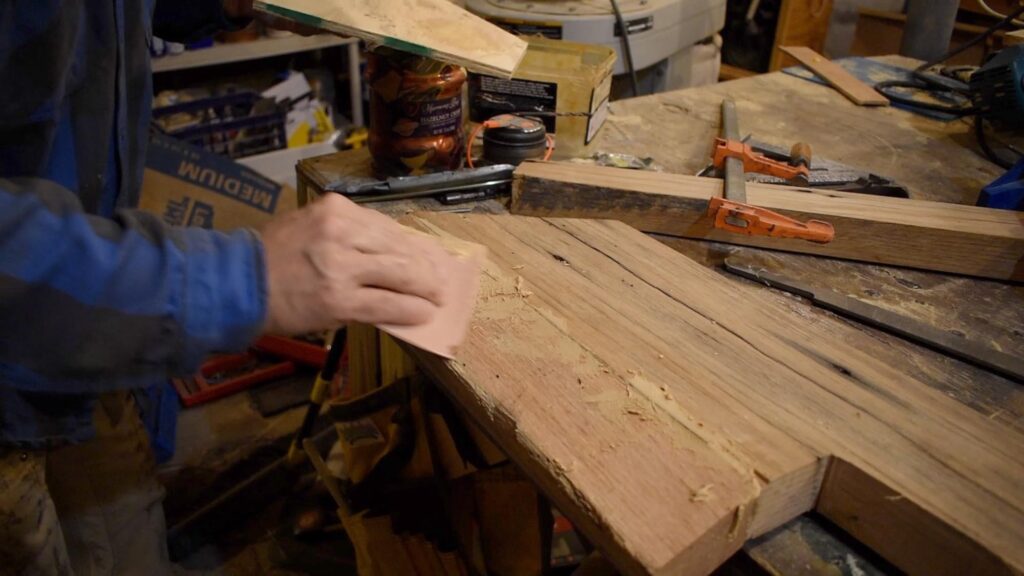
I let the glue sit for just a few minutes, then sanded it down with my orbital sander.
After the glue completely dried I sanded the whole dashboard with 120 grit then 220 grit.
Adding Finish to the Skoolie Dashboard
I don’t expect the skoolie dashboard to see too much moisture, but I’m sure it will get some. AND, I had some spar varnish left over from the door build.
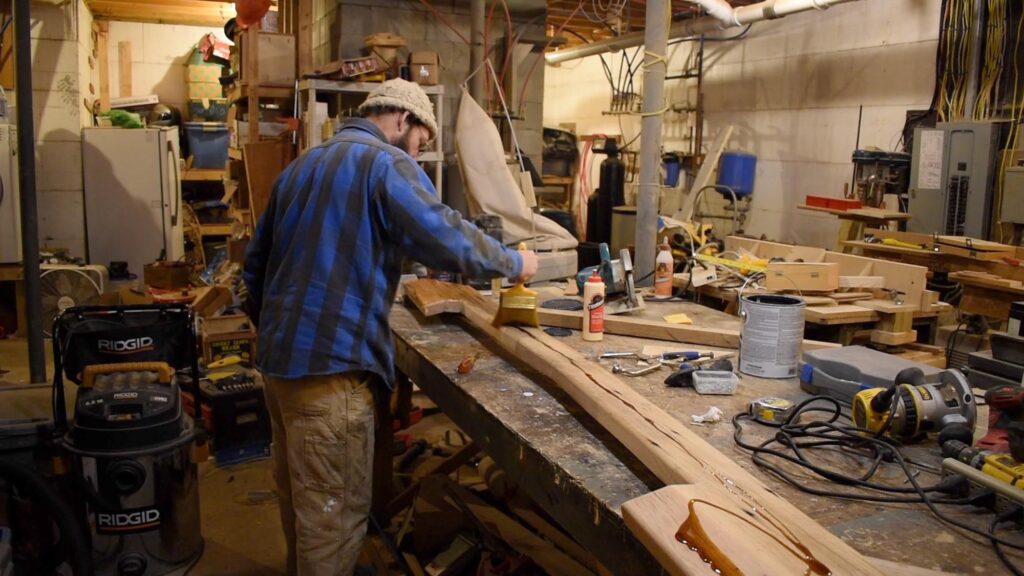
So I put two coats of varnish on both sides, lightly sanding with 220 grit in between coats.
And I’ve said before, I HATE the dry-time of oil based finishes, but LOVE the way it pops the grain and leaves a warm glow!
Adding Defrost
The Carpentry
The old dashboard had a stock channel that delivered air from a heater hose to the windshield. Somehow I needed to replicate the system without it looking like something built in communist Russia in 1950. (I’ve seen it…1950’s Soviet architecture is ugly. But the Moscow subways are gorgeous. Go figure.)
I decided a 1″ copper pipe with holes drilled in it would compliment the oak nicely AND provide air flow to the windshield.
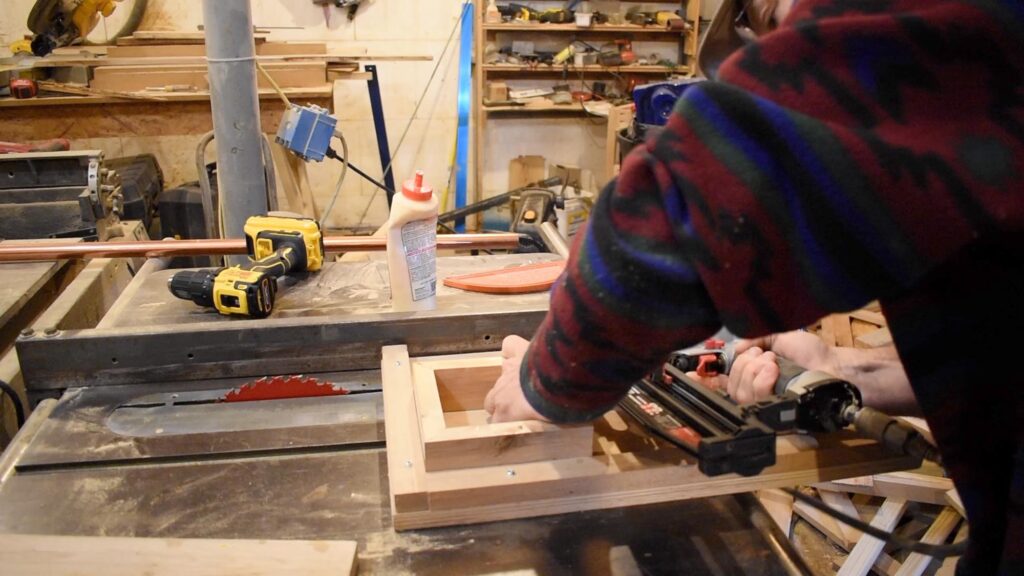
First, I built a small 4-sided mitered box out of some scrap wood. I made 45 degree cuts on each side, then glued and finish nailed it together.
Setting the little box on top of the dashboard where it would align over the heater hose, I used a hole saw to cut a 4″ hole in the oak dashboard.

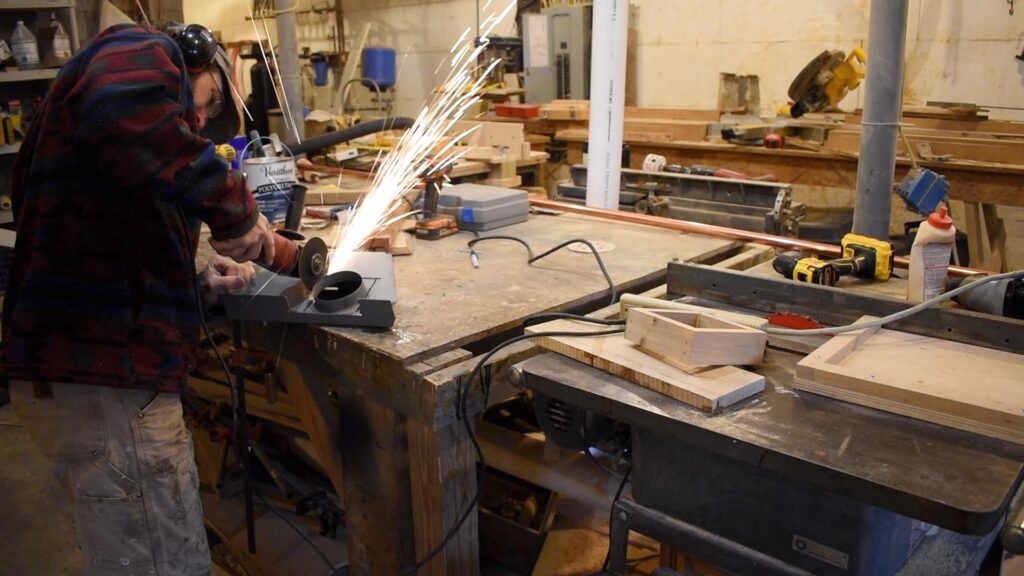
Next, I took the metal part that housed a flange that the heater hose originally clamped to. Using a cutoff wheel on my angle grinder I cut off the flange, drilled screw holes into it, then screwed it to the bottom of the dashboard leading into the 4″ hole.
Setting my little heater box on top of the dashboard, I eyeballed the angle that the pipe would exit the box and run parallel to the windshield.
Then I cut a 1 1/4″ hole in the box where I would insert the pipe.
Of course, where I needed the hole there was a 2″ finish nail sticking in where I had nailed the box together. Figuring the glue and a shorter nail would still hold the box together I used a cat paw pry bar to pull the nail up from the hole I had started and some wire cutters to snip it off. (There’s always a snafu, isn’t there?!)
The Plumbing
With the hole finally drilled I clamped the box to the top of the dash, inserted the pipe into the hole, then put a threaded adapter on the end of the pipe. I wasn’t planning in threading anything to it, I just needed to make that end of the pipe bigger to keep it from sliding out of the box.
Next, I needed a way to bend the pipe to match the angle of the windshield.
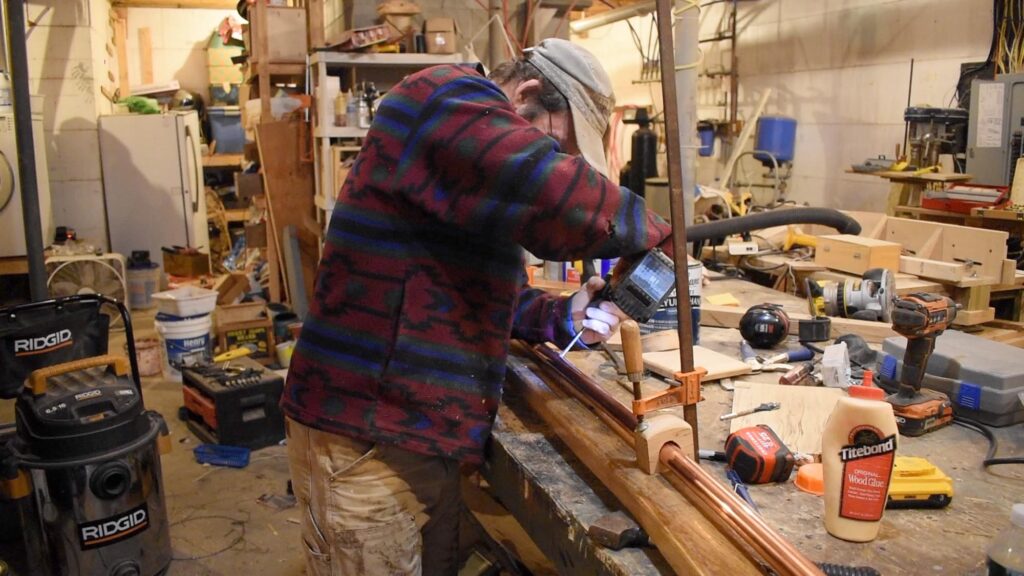
Originally I had planned to use a couple of copper pipe hangers to secure the pipe in place, but I couldn’t find any that I liked in the hardware store. So I took a couple of scrap piece of the oak, holes in them and rounded off the edges. Poof! Pipe brackets!
I inserted the brackets down the other end of the pipe and clamped one in the middle. Next, I was able to bend the pipe to match the angle of the passenger side of the windshield, insert the other bracket and clamp it to the dashboard.
It was coming together!
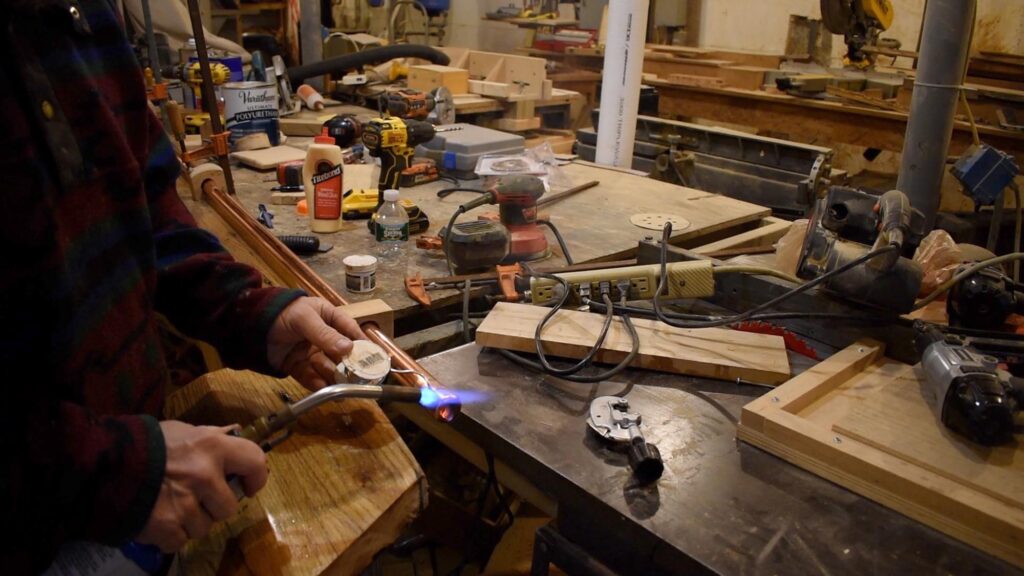
I soldered a cap onto the passenger end of the pipe and, without setting anything on fire, soldered the threaded adapter onto the other end of the pipe inside the box.
Next, I drilled 3/16″ holes every 1 1/2 of the pipe at about a 45 degree angle on the pipe. (So, hopefully, air would blow AT and UP the windshield.
After I finished drilling the holes I flipped the skoolie dashboard upside down and used 3 1/2 GRK trim screws to secure the box and the oak pipe brackets.
Installing the Skoolie Dashboard
Fitting
Now this is the really scary part.
I’ve put all this work into a particular piece of wood.
Have I made any catastrophic errors and/or will I break it trying to get it in place?
I managed to get it in the door without breaking it or any windows.
Next, I had to clamp the heater hose to the flange. Without much room (or hose) to work with, I wrestled with the hose and clamp for about 45 minutes to finally get it attached.
I said bad words. The dog tried to help by licking my face.
The hose would fit on, then slip off when I tried to tighten the clamp. It just wasn’t fun. But finally I got it attached.
Then the dash wouldn’t quite fit into place.
I fought with my inner instinct to use a bigger hammer.
Instead, I used a flashlight to look carefully all around to see where it was hanging up. Because the TEMPLATE fit…this had to be close!
I found that the piece that I had Kreg Jigged on the driver side extended toward the side of the bus about an 1/2 ” too much.
I really didn’t want to pull whole thing out (and take of the !!@### heater hose) so I used my Dewalt oscillating multi-tool to trim off that 1/8th of an inch. (That tool really saved the day…it should have ridden in on a white horse!)
Then…it slid right into place just like the template.
I took back all my bad words and patted the dog.
Securing
All of my deck screws on hand were 2″ or longer. Since they would have gone all the way through the dash, I used some 1 1/4 ” Kreg screws that I had on hand. On the skoolie dashboard metal frame I found small holes. I screwed up into these holes to hold the dashboard in place.
Skoolie Dash Apron
I ripped some other 3/4 ” oak that I had laying around into 3 1/2 wide pieces. Again I used my angle measuring tool to get the angle of the dashboard right in the middle…about 5 degrees. I cut a 2 1/2 degree bevel on the middle meeting edge of two of these boards.
After putting a bead of glue on the top edges, I clamped the in place under the dash and secured them using 5″ GRK trim screws.
(I was using my Rigid impact driver at first. I really like the power of impact drivers. But I hadn’t fully charged the battery. So I switched to my new Dewalt 20 Volt Cordless drill…holy cow that thing has power! It cranked these trim screws through 3 1/2 of solid oak!)
Testing the Defrost on the Skoolie Dashboard
Clearly I wanted to test the defrost function.
So I needed to steam up the bus.
I called Julie out there and we made tea.
Chai spice and lemon ginger.
With the pots boiling on the stove we managed to get some condensation on the windshield.
I had already taken the bus for a spin to get the engine warmed up, so I cranked the defroster.
We managed to get warm air flow out of the holes in the copper pipe. There wasn’t as much airflow as I would have liked, but it seemed to help clear up the windshield.
In short, it seemed to work, but I would have liked to have it work better…but there will have to be more testing while driving the bus.
Skoolie Dashboard Conclusion
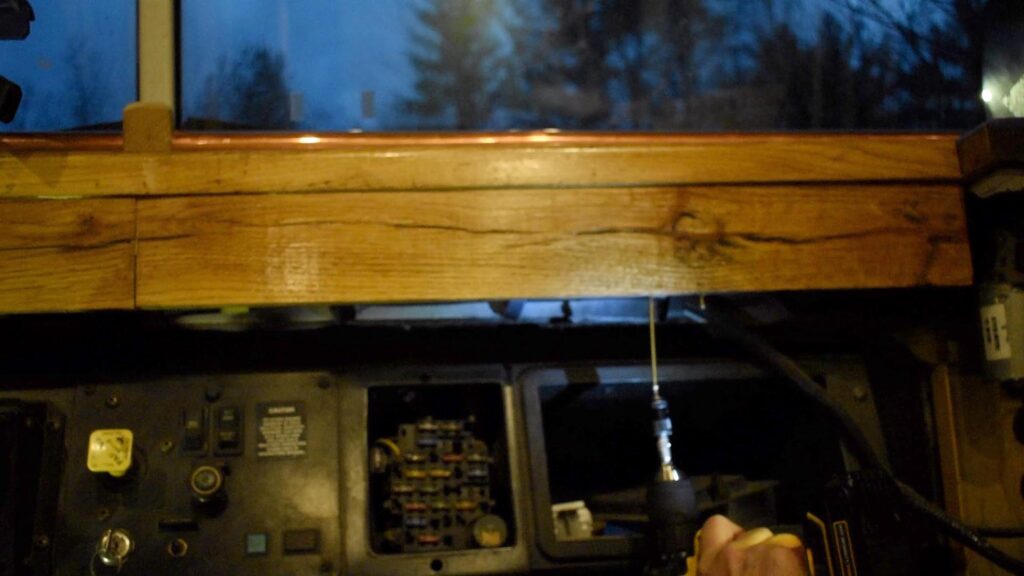
I’m thrilled with the way it looks!
It fits in there well (after some wrestling!
The oak with spar varnish compliments the look of the copper pipe.
And I LOVE the way the grains pop!
The style matches the look of the rest of the bus.
Much better than 1950’s Russian architecture!
As always, thanks for following along on our journey. If you have any questions about this build or other projects, don’t hesitate to ask in comments or subscribe to our email list! We love talking about Skooies!
All the best,
Ted