
A couple of weeks ago I posted what I felt were the critical skoolie tools needed on a skoolie conversion project.
Then I got thinking.
What tools might be considered “non-essential” but in looking back I say, “THANK GOD I had that tool!
Plus I didn’t want these little darlings to feel left out.
So…with you guys penning your holiday wish lists, here are the top 5 skoolie tools that I found worth every penny on my build!
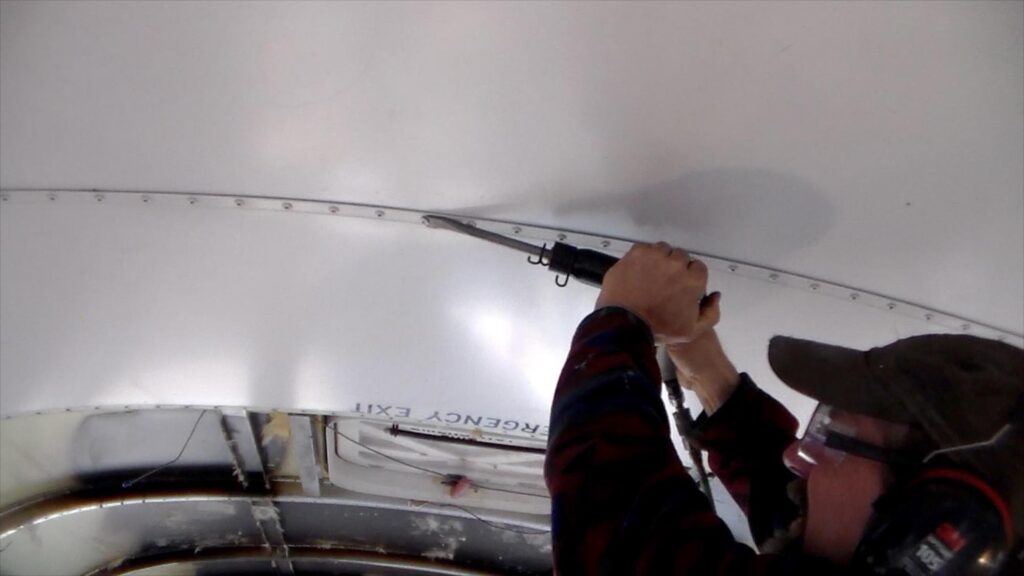
5. Air Chisel
I just watched a facebook video of someone removing rivets from their skoolie ceiling with a hammer and a chisel.
My shoulders ached just from watching it.
Does it work? For sure.
But I’ve had rotator cuff surgery. Not fun…I don’t recommend it.
I didn’t count every one, but I’m willing to bet I removed 1,327 rivets (give or take) from the ceiling and walls.
That many swings of the hammer (double it AT LEAST to knock out the center pins and then shear off the heads) takes TIME and ENERGY. Both of which can run out on you quickly.
With this little air chisel, (around $25) that comes with the bits needed, I cranked out all the ceiling panels and side walls in less than a day.
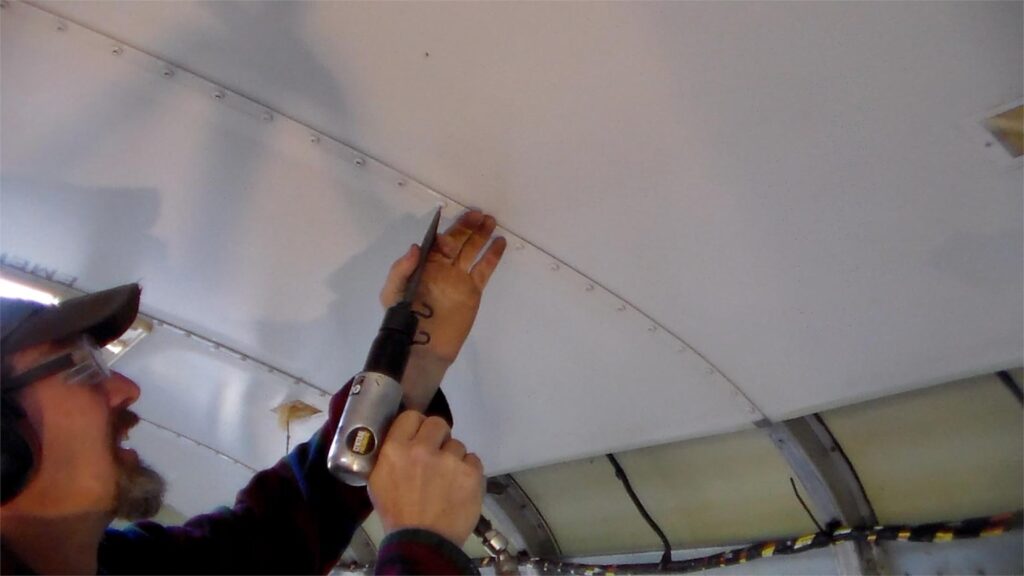
And could still lift my arms over my head the next morning.
And, if my math works out correctly, that’s two cents a rivet. Not including labor which I’m guessing would triple without it.
I call that a bargain. (Not the “best I’ve ever had” but close. [IF you know that reference throw it down in the comments; I’m curious about my audience!)]
4. Electric Shears
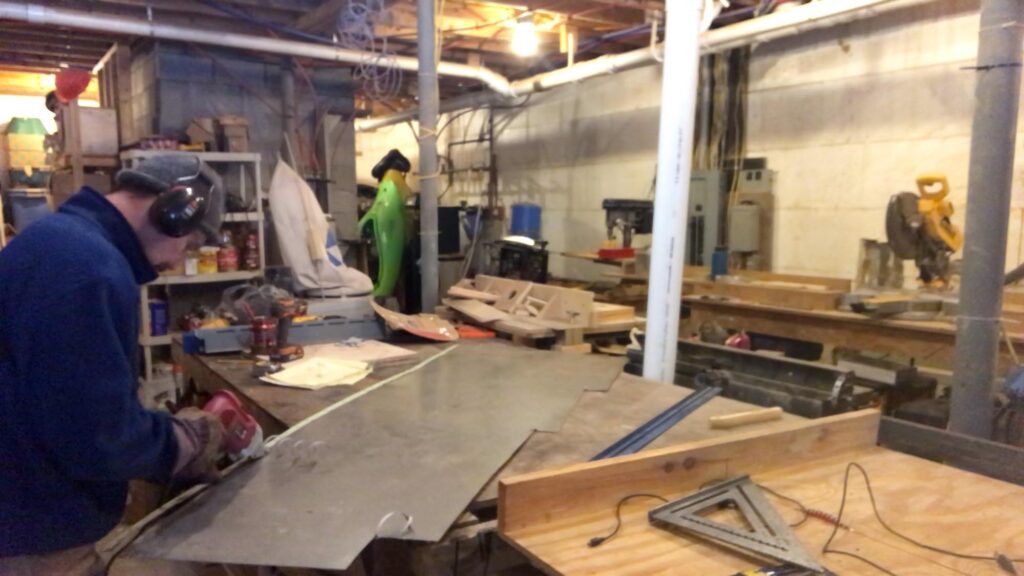
At the time I struggled to justify the electric sheet metal shears. I mean, I had some tin snips, an angle grinder and skill saw. Why did I really need some electric shears?
But I’m a woodworker and not a skilled metal fabricator.
So I feel like a toddler struggling to color inside the lines when cutting with an angle grinder. And while flying sparks look really cool, they make me a bit nervous.
And cutting metal with my skill saw sets my teeth on edge.
The shears, however, make cutting metal much more manageable. (Hey, check out that alliteration! I should start a blog or something.)
Cutting floor patches with my skill saw seemed to take forever.
With shears I cut the metal for the window skins, the covers for the destination signs, the flasher lights, and then new metal under the door.
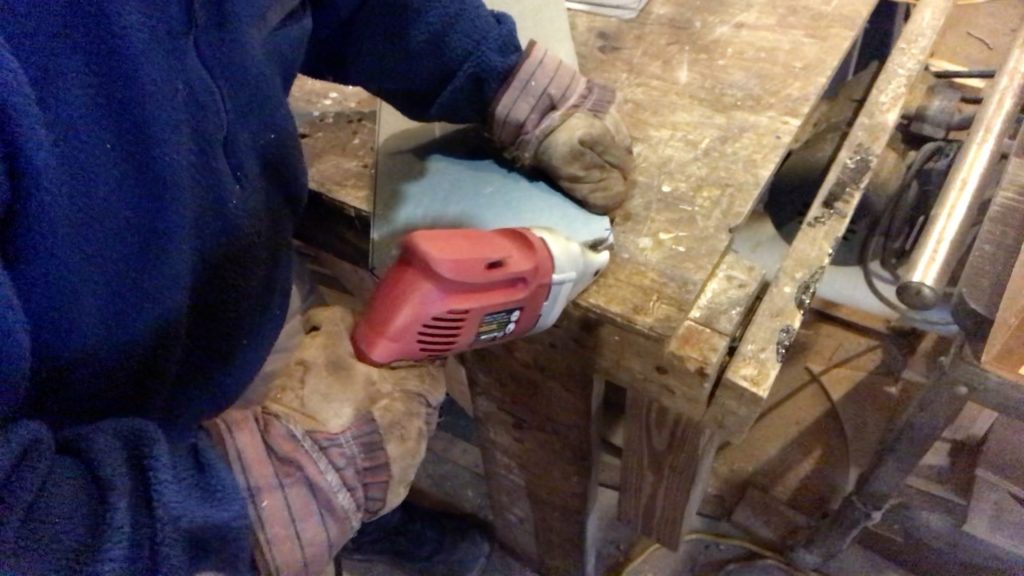
The cuts came out clean, accurate, and I kept all my fingers.
Another bargain!
3. Oscillating Multi-Tool
Okay…be careful with this one.
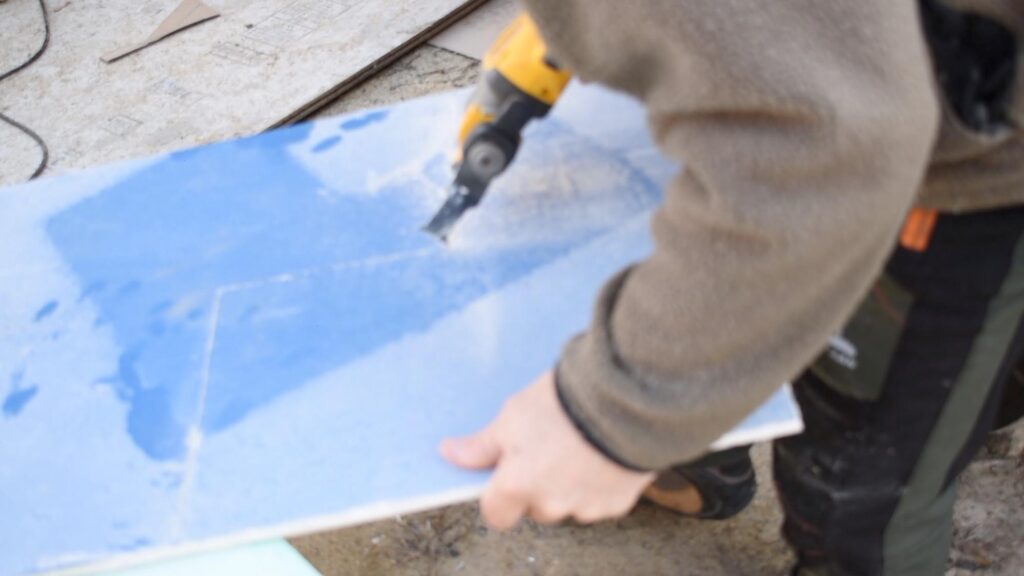
(I even used it on this tile backing board when I did the shower!)
Not that the tool itself is dangerous, but”¦.
(Backstory: I’m usually pretty good about avoiding things I can’t afford.
Like…Do you want to try this $300 paddle or $1800 guitar?” And I’m like…No…get it away from me. I don’t even want to smell it.”
Because I know that as soon as I have it in my hands that I’ll want it.
Bad.)
But I let my guard down on this one.
I was helping my cousin finish up an outdoor patio and needed to trim off a bit of vinyl siding. A friend of his also helping out on the project hands me his oscillating multi-tool, and I reach in around this funky angle and zip, zip, zip, the offending piece comes right out lickety-split.
Damn.
I NEED one of these.
Now I have one.
Multi-Tool Uses
Yesterday I needed to trim off a piece of the frame around a heater cabinet I had already built in place and did not want to disassemble the whole thing. Zip, zip, zip. Done.
Last spring I built all the kitchen drawers.
Driving around with unlocked drawers, however, caused stuff to go FLYING!
So we bought these locks (that work pretty well, by the way!). However, they needed to fit flush to the drawer front and I almost always build my door with a face front, so I had to notch the structural front of the drawer. Zip, zip, zip.
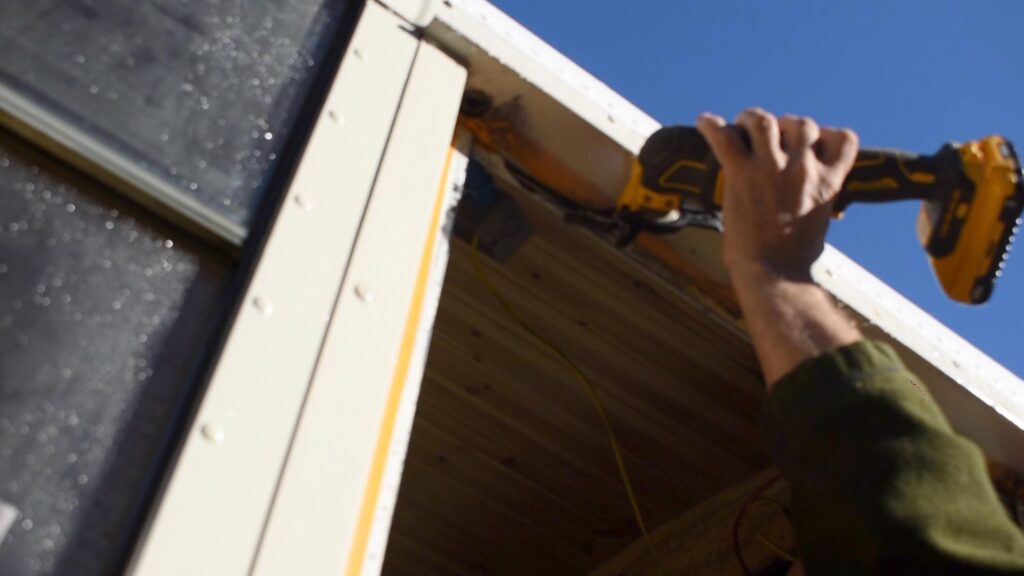
However, the #1 reason you should have this tool is for reflective strip removal! I’m not kidding…that job SUCKS and this tool will make life SO MUCH EASIER!
I tried the eraser wheel, a heat gun, a blowtorch, a scraper. Considered then discarded the idea of a shotgun.
I finally got most of it off, but still had a few scraps on the back of the bus.
I saw a post somewhere of someone using this multi-tool to scrape it off. So as I was getting ready to paint the bus I tried it on the back of the bus.
I got really irritated that I didn’t try it before! Stuff came right off.
I used it to remove the weather stripping around the factory door before installing the new one. Again came right off.
I’m positive I heard the exaltations of Hallelujah ringing through the countryside.
It’s that good.
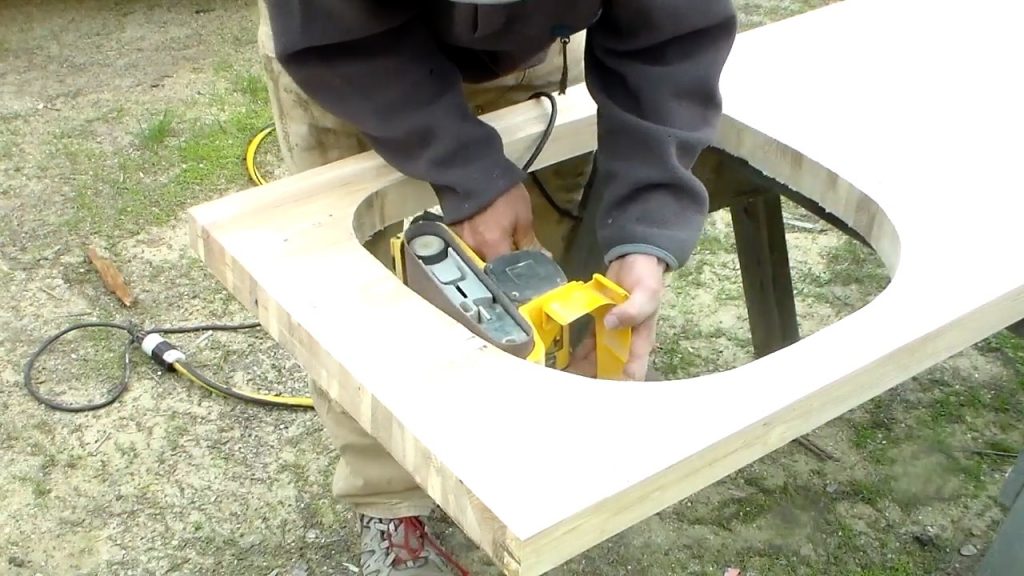
2. Belt Sander
Like many of these tools listed, the belt sander saves time! When you need to remove a lot of material in a short amount of time, the belt sander does the trick.
I love my orbital sander for fine finish work, but it would have taken it forever on some larger projects.
For example. When building the butcher block countertop I had to even out all the edges from over 20 pieces of six foot oak all glued together.
Also, after using a jig saw for the sink cut-out, I used the belt sander to smooth out the rough cut.
After using mortise and tenon joinery to assemble the oak entry door, I again used the belt sander to make everything flush.
To build the dashboard I had a piece of antique oak salvaged from an old barn. It was old and pretty beat up with nail holes, dings and scratches. Belt sander time!
I could go on and on, but I found myself hauling this tool off the shelf more times than I thought I would at the beginning of the project.
1. Finish Nailer
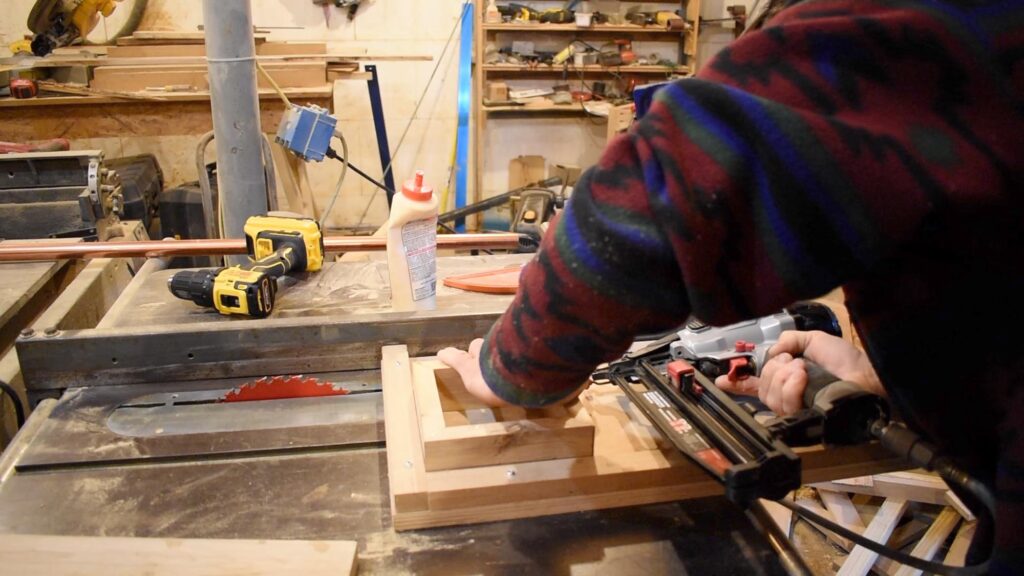
I’ve yet to use my framing nailer on the skoolie conversion project, but I find myself using the finish nailer all the time.
If you’ve never used a nail gun, well…you’re missing out. They’re great!
The speed issue aside, it’s nice being able to use only one hand for the actual nailing. Instead of trying to hold a piece of wood with your foot or head while you hold a nail in one hand and a hammer in the other, you can just hold with one hand and hammer with the other.
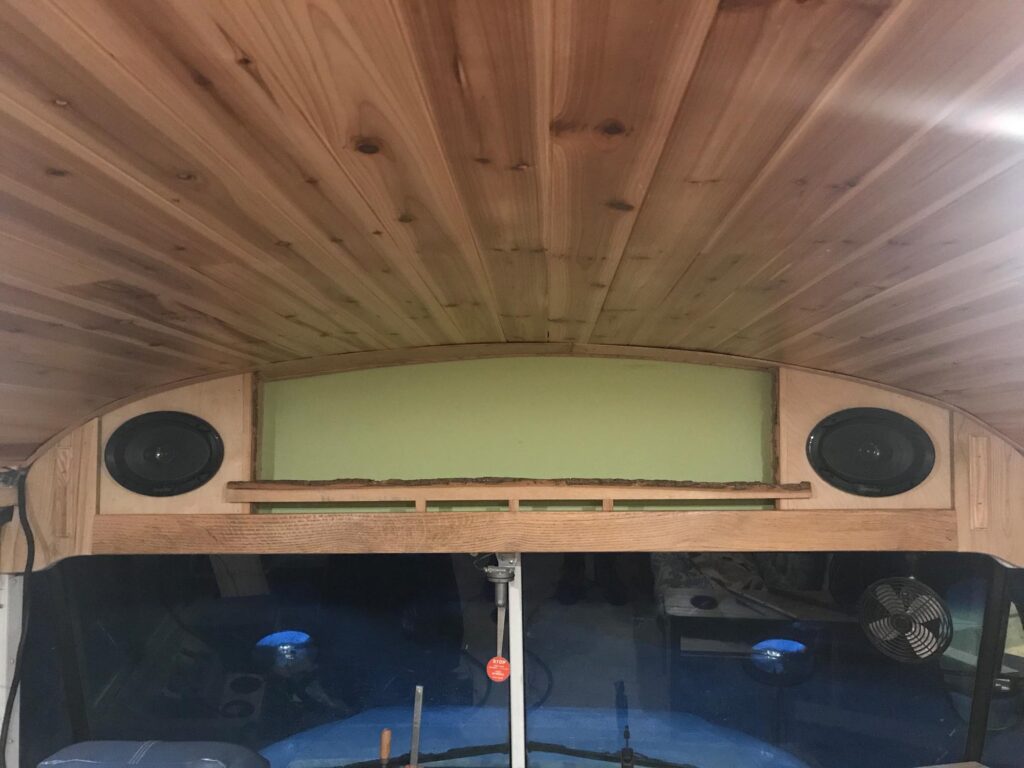
My tongue and groove ceiling would have been near impossible without my finish nailer.
It performed like a champ nailing sheathing to my interior walls, securing the bulkhead over the windshield and on the dashboard project.
I have a pneumatic nailer kit…essentially 3 tools: a finish nailer, a brad nailer (shoots smaller nails) and a pneumatic stapler. Nothing too fancy…cheap but works.)
If I were to buy this again, I would consider a cordless finish nailer. The $200 price tag gives me some pause. However, not having to haul around a compressor and an air hose sure sounds convenient!
Skoolie Tool Conclusion
Could I have gotten by without these tools? For sure.
Would the project have been more frustrating? Indeed.
These are the tools that I am thankful to have in my shop and, were I to do it all over again, I would spend the money on them in a second.
As always, hit me up with questions in the comments; I love a good excuse to talk about skoolies.
Thanks for dropping by,
Ted
If you like this blog post, you’ll love our free PDF that shows you how you can save HOURS or even DAYS over the course of your build. Click here for immediate access!
Check us out on youtube.
Or on Instagram