
[convertkit form=1899477]
If you like this blog post, you’ll love our free PDF that shows you how you can save HOURS or even DAYS over the course of your build. Click here for immediate access!
A Butcher Block Countertop wasn’t Plan A. I had originally planned to build a live-edge countertop; I thought it would fit the woodsy-outdoor feel that we have been going for.
But…in perusing the “free” section of Craig’s List, I came across a post that something like “A bunch of rough sawn lumber that was in my father’s shop for the last 40 years.”
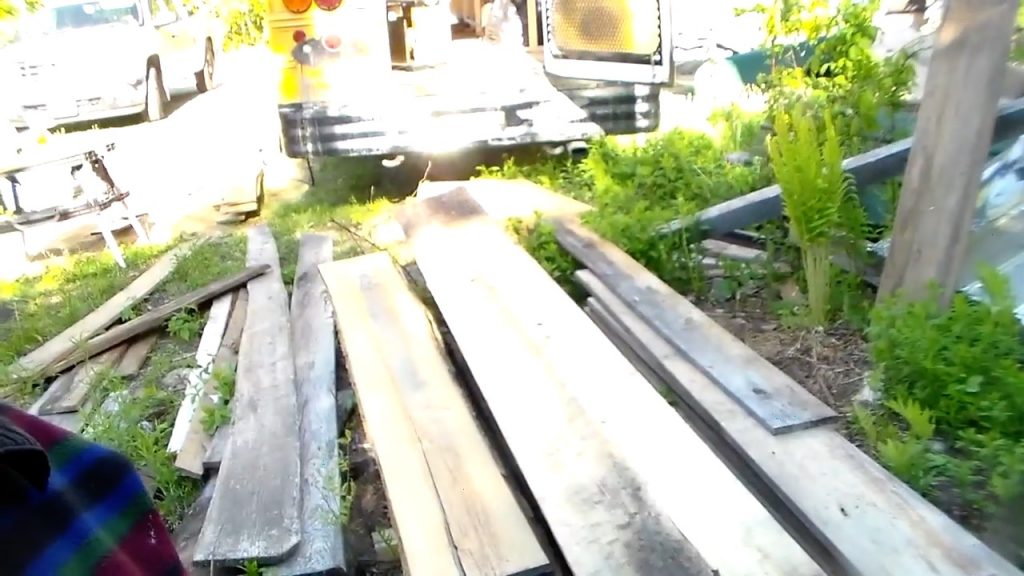
I called the number and said, “I’ll be there in an hour…with a bus!”
Julie and I were on our first “Weekend Bus Experiment” and were able to swing by this place, right on our way home, and pick up a load of oak, cedar and maple that we turned into a countertop and cabinets.
https://www.pinterest.com/pin/774689573396363768/Butcher Block Countertop Wood Processing
Milling the Butcher Block Countertop Lumber
Although there was some 2″ material in the pile, there wasn’t enough bigger stock to create a live-edge countertop.
But there was a ton of 1″ oak.
So Butcher block it was!
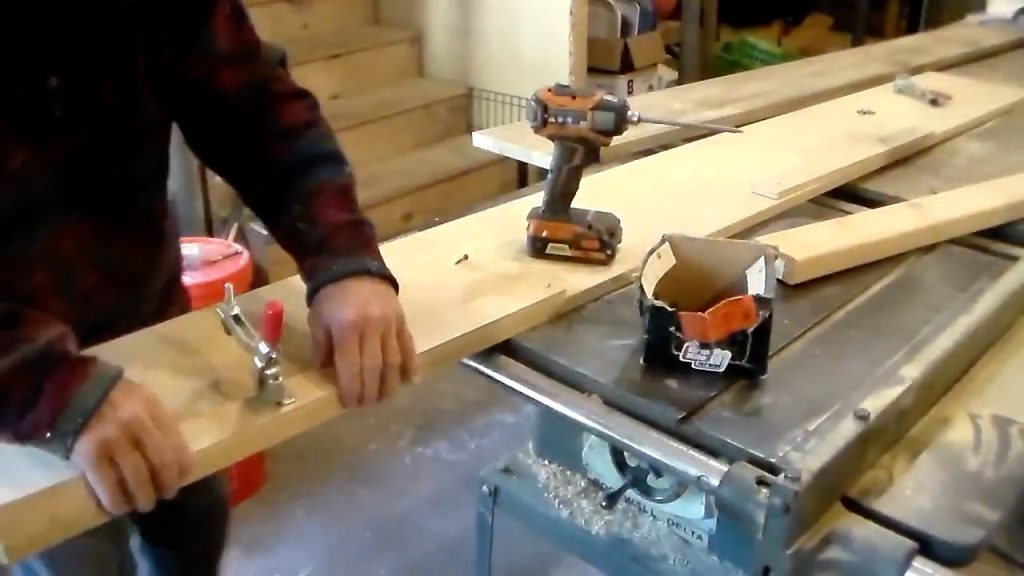
Table Saw Jig
Most ot the stock was rough sawn and not edged. So in order to get a straight edge to work with, I used a table saw sled.
Most of the pieces were 10′, so I had to build a new sled from MDF that was long enough to handle the stock. MDF isn’t my favorite material to work with, but it’s flat and straight, so it provides a solid reference point.
I screwed a stop block square on the end and mounted toggle clamps to the side to hold the lumber. Then I ran each piece through the table saw to establish at least one straight edge.
Ripping the Stock
My jointer isn’t super fancy or wide, but it will handle pieces 6″ wide. So, running my new straight edges against the table saw fence, I ripped each board down to 5″.
I wanted my final countertop to be 2″ thick. I also know that running A LOT OF SMALL boards through the planer would be time consuming, so I opted to rip them larger at first.
Jointing the Stock
After ripping everything down to 5″, I ran the edges through the jointer, then flattened one face, also using the jointer. Now I had three sides flat and square.
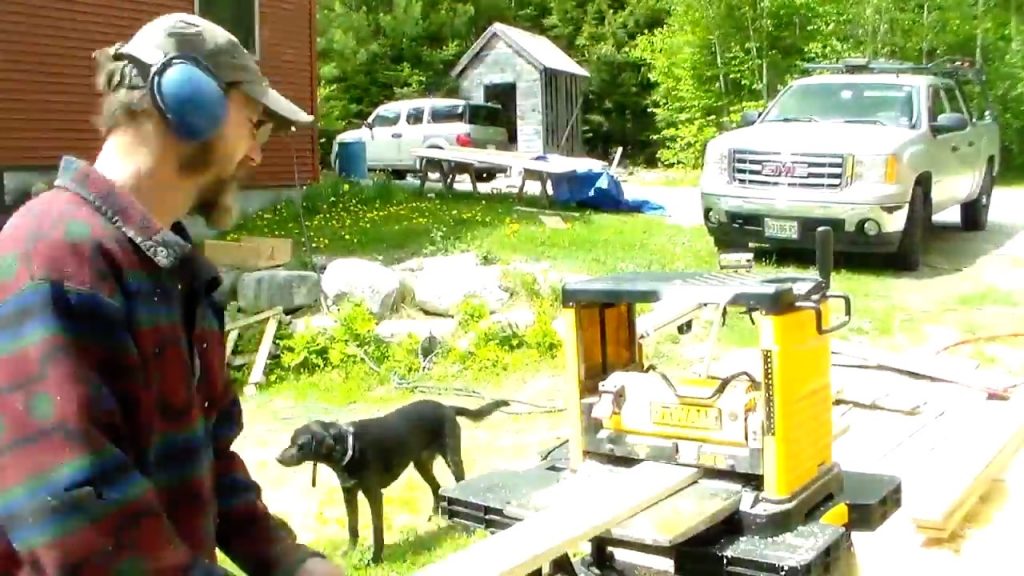
Planing the Stock
To smooth out the final side, I ran everything through my Dewalt 12 1/2″ planer. I took light passes, probably running through each piece 5-6 times, until I got to about 3/4 “. Most of the stock was a bit thicker, and that’s okay because I would be gluing them together on that face so variances in thicknesses wouldn’t matter. Really, I just wanted a completely even surface for better glueing.
Ripping the Stock to Width
Now that the boards were “pretty,” I took them back to the table saw and ripped them down to 2 1/2 inches. I gave myself an extra 1/2 ” so that I could plane and sand a 1/4 off both sides for a super flat finish. Stanley would be proud!
Assembling the Butcher block Countertop
Butcher Block Countertop Glue Up
Glue ups can be tricky to get everything to stay flat. And I haven’t had great luck using cauls. (I’m sure it’s operating error, but I know my weaknesses and have worked out a few plans to circumvent some of them!)
With so many individual pieces in a butcher block countertop, I knew there would be many variances. However, my planer is only 13″, so I knew that I couldn’t run the whole countertop through it. I also knew that I didn’t want to spend DAYS sanding a 24″ oak countertop.
So, instead, I glued up the countertop in three smaller sections. This still took quite a bit of time spreading glue on each individual piece and getting it set in place and clamped before the glue began to dry.
It was a scramble, but I managed to get 2 sections done, waited for them to dry, then glued up the third section.
Planing to Final Thickness
Then I took each individual section and ran it through the planer until I got to 2 1/16″. Woodworking purests would scold me for running both sides through the planer saying that it won’t actually get flat, but it worked well enough for me.
I planed the “rough” / bottom side first until it was relatively flat, then planed the top side, taking light passes to avoid tear-out, until I got to 2 1/16″.
Butcher Block Countertop Final Glue Up
To reduce sliding around and creating height variances for the final countertop glue-up, I decided to use a biscuit jointer to glue all three sides together.
I clamped all the pieces together, creatively labeled them parts 1,2 and 3, then made a pencil mark across each joint to label where the biscuit would go. Then I set each piece on my table saw (the flattest surface I have in my shop), and cut biscuit grooves in each spot.
After cleaning out each groove I spread glue, assembled all the pieces and clamped them together.
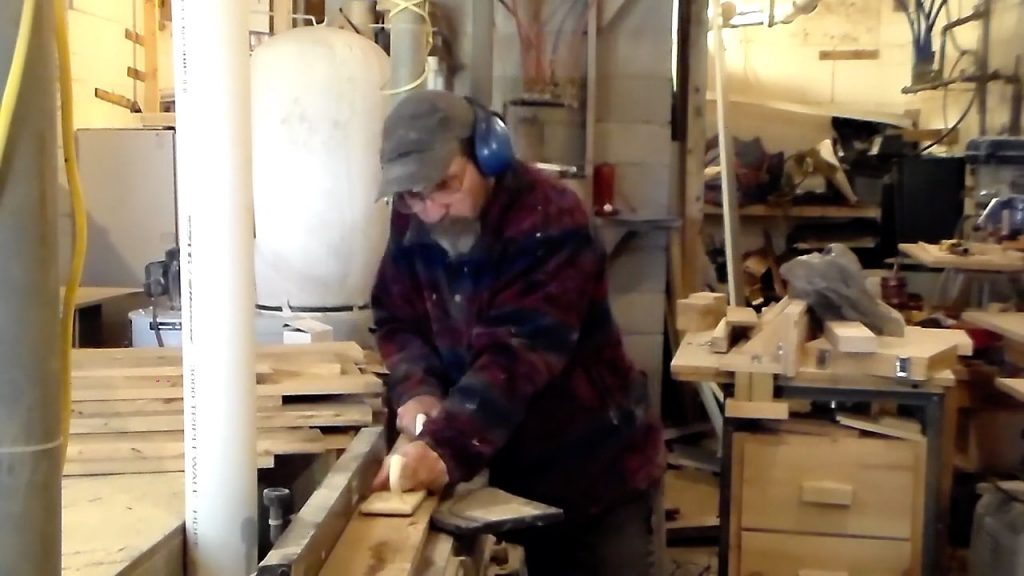
Sanding the Butcher Block Countertop
Now this thing was heavy!
So I let this mammoth chunk of lumber dry overnight for fear of moving it to early and cracking one of the joints.
The next day, despite all my efforts at biscuiting and keeping it flat, some edge variances arose. Alas…it’s tough (i.e damn near impossible!) to be perfect.
Thus, CAREFULLY unclamping and turning the countertop over, I used a belt sander to even up the ridges. Once I was happy with the uniform surface I switched to my orbital sander using 80, then 120 grit discs.
Routing the Edges
Using my hand-held router and round over bit, I rounded over the two edges that would be exposed.
PRO-TIP: Raising the Grain!
Once I had gotten down to 120 grit, I took a damp rag and wiped off the dust. Adding moisture also had the effect of making the small fibers of the wood stand up. After the moisture dried, I finished sanding with a 220 grit disc. Raising the grain before the 220 grit sand keeps the wood from raising the grain when you apply any finish; thus you get a silky smooth surface!
Finishing the Butcher Block Countertop
Polyurethane on the Bottom of the Butcher Block Countertop
I wanted an epoxy top, but not an epoxy bottom. However, I wanted to seal all sides of the butcher block countertop to protect the wood and keep it from absorbing moisture at different rates and warping.
I got out my sprayer and added coats of water-based poly. (Yes, 7!) It was a warm day so I did it outside in the sun, so the coats dried quickly!
Epoxy
I had never done an epoxy pour before, so I felt nervous about this process! I had slaved over this beautiful woodworking piece and I felt anxious about screwing it up!
But…woodworking and building builds the craftsman (or woman if you are one) as well as the craft to I had to get over myself.
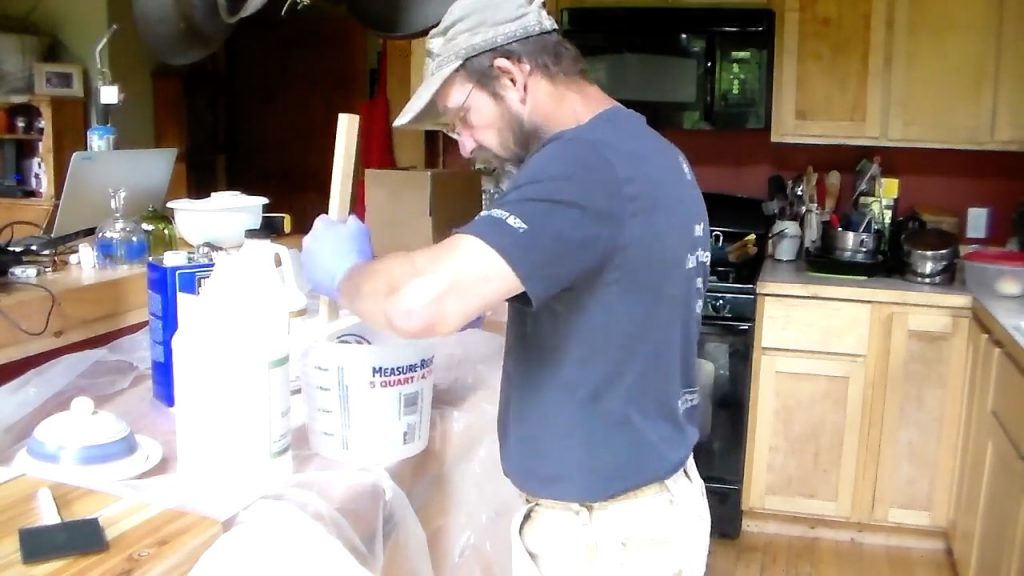
Mixing
I chose Table Top epoxy because it was billed as “food safe,” the reviews were good, and it is reasonably priced.
I bought mixing cups to get the exact proportions necessary for an effective cure. Trepidatiously I measured and mixed. The directions said to mix thoroughly for seven minutes which I did religiously. I also took care not to whip air into the mix by raising m custom made oak mixing stick in and out of the epoxy. I think next time, though, I will buy a mixing rod that attaches to a drill. That would make the process much easier!
Environment
For best results, an epoxy pour should be done with temperatures between 70 and 90 degrees. The room should also be dust free.
Yeah, right. Have you seen my shop?
So I took my project to the dining room table. It was exactly 70 degrees…and not exactly dust free, but at least cleaner than my woodshop.
I covered the table and floor with a couple of pieces of poly and hoped I wouldn’t make a mess forcing my lovely bride to admonish me.
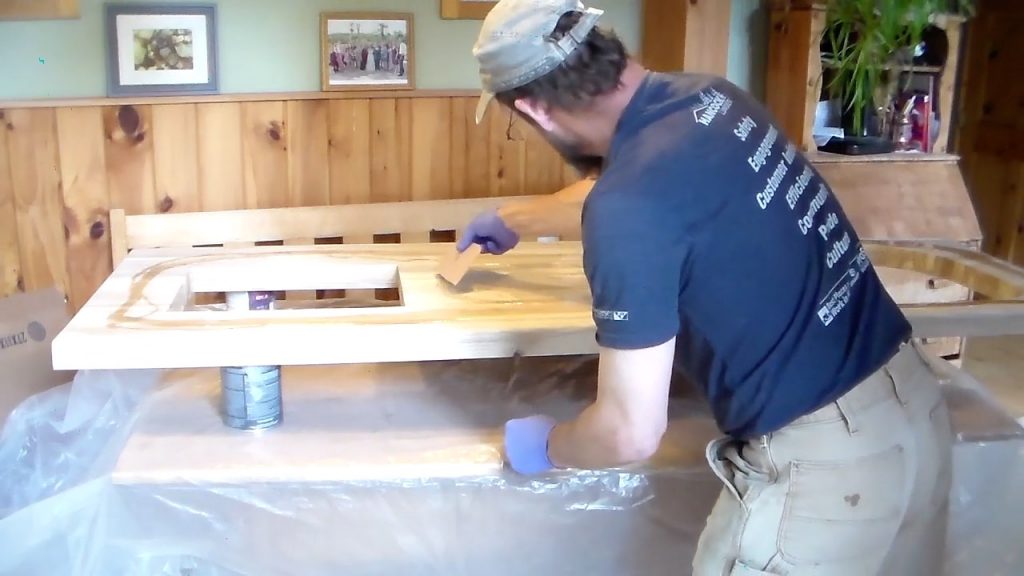
Skim Coating the Butcher Block Countertop
I poured the mixed epoxy on the top of the butcher block countertop and used a plastic spreader to scrape the epoxy evenly around the surface. I found the edges tricky because the epoxy kept succumbing to gravity and dripping onto the table. It wasn’t terrible, I had a sheet of poly to protect the table, but I wanted that epoxy to stay on the countertop!
I kept scraping the edges trying to avoid drips and runs, and after 1o minutes or so the epoxy began to thicken and stick.
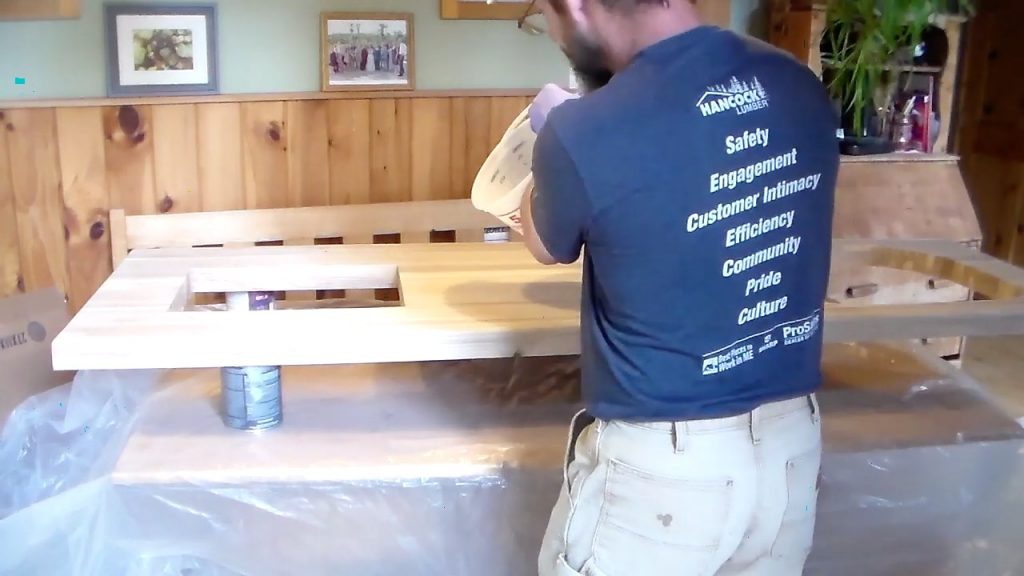
Air Bubble Removal
As the epoxy interacted with the wood (I think that’s what caused it!), some air bubbles formed. So taking a blowtorch I waved the flame at the air bubble about 8″ away, warming it until if popped and disappeared.
Dry time
I allowed the epoxy to dry for 4 hours. This allows it to set up, but still remain tacky so that the build layer will still stick.
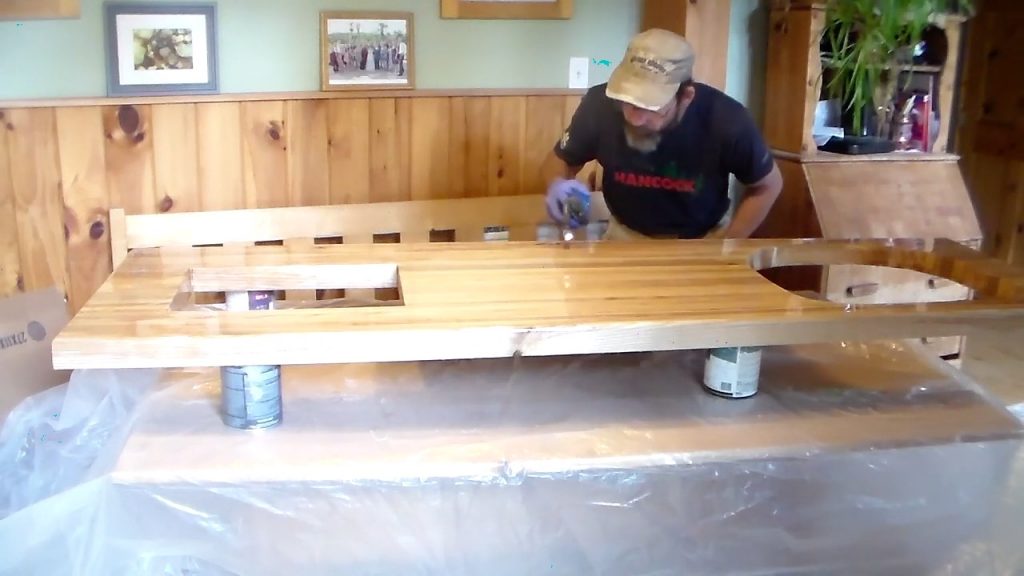
Build Layer
I mixed up another (bigger!) batch of epoxy. This time I really wished I had that drill mounted stirrer! (Come to think of it, I need one of those for mixing margaritas! Can you imagine?!)
Once this was mixed I, again, poured it on and worked to move it around and level it out with a spreader. Like the skim coat, I struggled getting the edges to set correctly, but in the end it came out alright!
And again I scoured the final pour like a hunter with my blowtorch pouncing on any air bubbles that threatened the beauty of my butcher block counter masterpiece.
It’s important to have good lighting and look from various angles. I missed one small bubble at first, and by the time I tried to vanquish it with the blowtorch I was too late. I wound up being a bit too aggressive and rippled the surface in that spot. Nobody will ever notice except me. And I’ll learn to live with it and even celebrate it as part of my learning as a builder. At least that’s what I tell myself.
Final Dry
As the epoxy dried, I attempted to trim off the drips at the bottom with an exacto knife. In reality, though, I found it much easier to just sand them off with some 80 grit after it was all dry.

The directions said to give it 72 hours at 70 degrees to harden and stabilize. They also say that it takes 30 days for the epoxy to fully harden, so be GENTLE with it to avoid scratches.
I used blankets and bubble wrap to move it around!
Butcher Block Countertop Installation
I’m not an epoxy expert, but I’m willing to bet that Butcher block countertops will still swell with moisture. As a result, I chose to use an installation strategy that will secure the countertop to the top of the cabinets, but will allow for some movement. This, I hope, will prevent the countertop from cracking.
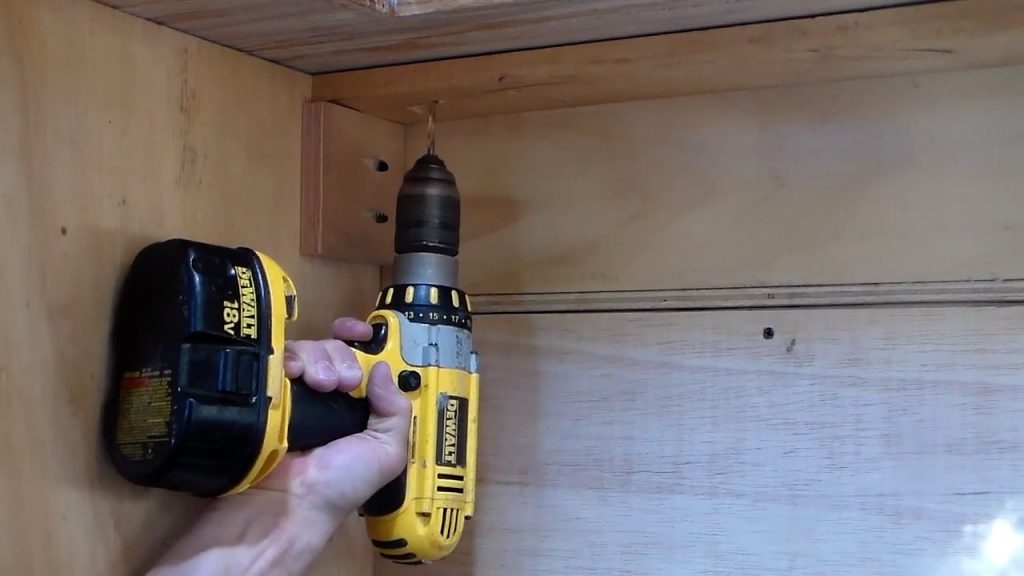
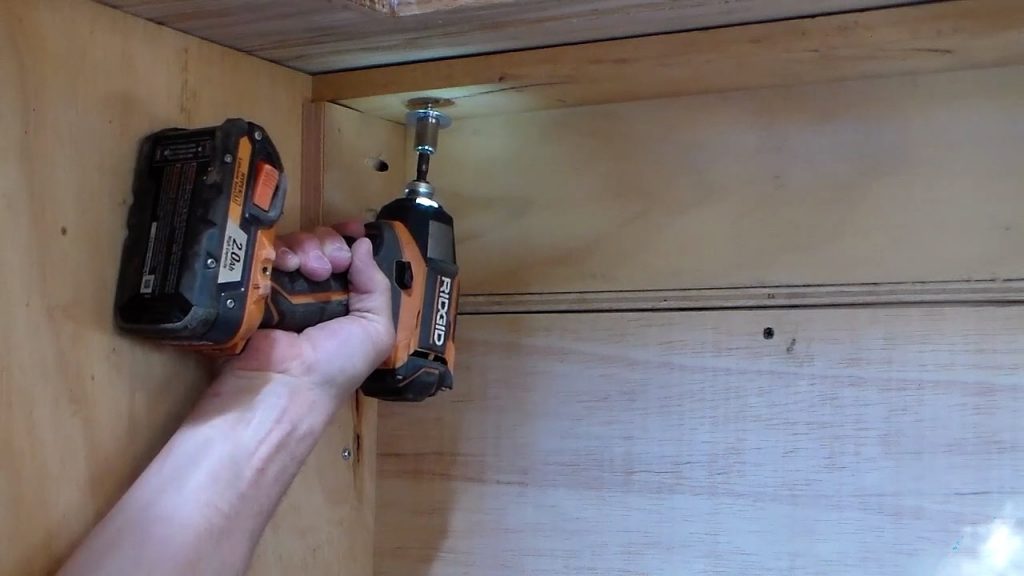
I predrilled larger holes through the cabinet base spacers and smaller holes into the bottom of the countertop. Then I screwed in lag screws and washers. The larger holes and washers allow a bit of movement of the lag screws across the top of the cabinet bases.
Butcher Block Countertop Conclusion
Although the butcher block countertop wasn’t Plan A, I’m really glad we wound up with Plan B! The butcher block’s sleek lines and epoxy finish provide more of an elegant feel while still maintaining the warm, cozy look of natural wood.
I was able to expand my building skills by dabbling in the world of epoxy and, as an added, always welcome bonus: the material was free!