
After removing the seats, I had removed the heaters in the back of the bus, and had looped the coolant hoses together just to the rear of the driver’s heater.
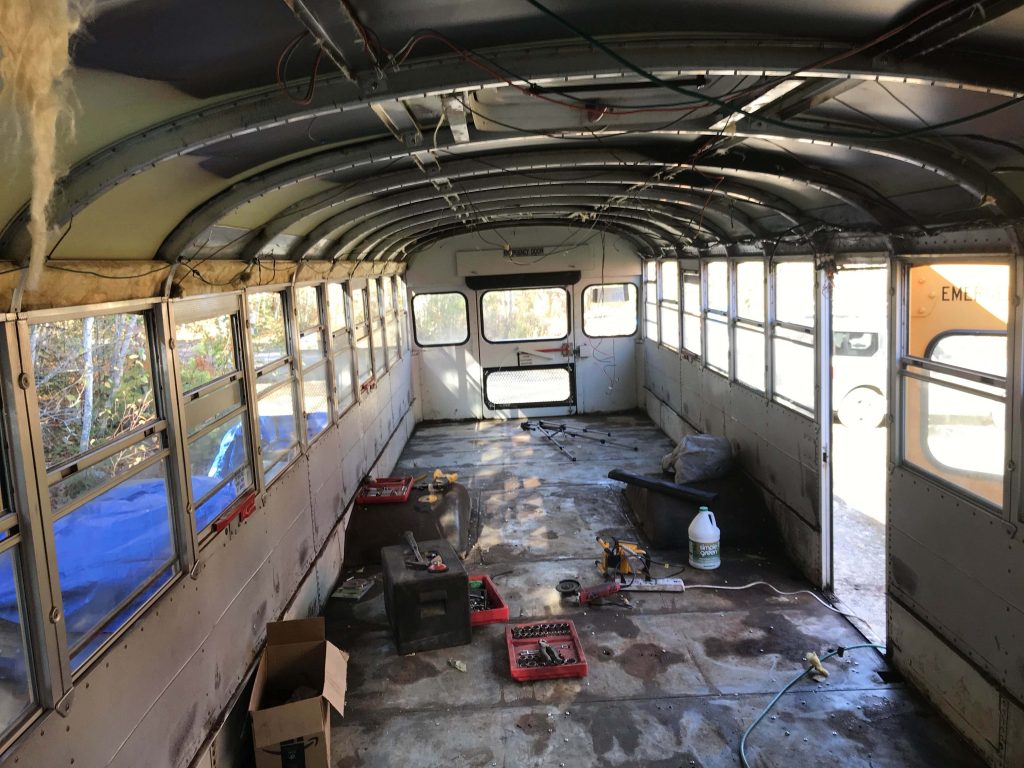
I had then gone on to other projects like removing the floor, the wiring, patching rust holes and so on.
A this point, however, I had to get the school bus driver heater removed for a couple of reasons.
First, I needed to get underneath it so that I can get some rust-inhibiting paint under there.
Second, also want to get insulation and new subfloor under it as well. I need to figure out exactly how it will sit so that I can begin exploring how to rebuild that entire console.
I suppose in any skoolie conversion project, you have to make decisions. So I need to decide whether I’ll keep the original school bus console or fabricate some sort of more tiny home custom look.
Either way, I needed to establish it’s final spot. In addition, I had removed a bunch of wires and switches that I won’t need.
However, I also wanted to hook up everything I did plan on using to make sure it worked.
Repairing Heater Console Wiring
Mice had chewed the wires leading to the defrost and fresh air plugs, so I needed to repair them. I had tried snipping them and using a regular pair of pliers to put on a spade crimp connector.

I plugged it in and it worked but as soon as I tried unplugging it, the connectors came right out.

Repairing Wires with a Crimping Tool
So I ordered a real crimp tool which worked much better.
Imagine that, proper tools make the work better!
I also ordered a large connector kit. I plan on pulling off all the wires leading to the lights at the back of the bus and running them through conduit, so I wanted to be stocked up!

Be sure to close and latch the lid after getting your selected connector. I left mine open on the floor and ended up picking up 477 connectors…
Removing the Driver’s Heater
To preserve as much coolant as possible, I closed the valves to the heater hoses in the engine compartment and on the heater itself.

When I had removed the lines before to pull out the rear heaters, I had to cut the hoses because they felt like they had cemented themselves to the brass fittings they were attached to.
Here, though, I was able to loosen the clamps, pull the hoses off and drain the half a gallon or so of coolant into a plastic bin. Since the coolant looked clear, I poured it back into the reservoir in the engine compartment.

Then, I pushed the heater to where it would finally sit, measured where the hoses would connect to it, and cut them to the appropriate length.
Now I could pull the heater out completely.
Finally, I looped the coolant hoses back together so that I could run the bus without spewing antifreeze all over the place using a brass connector from the rear heaters.

All I need now is some warmer weather so I can get some paint down!
If you like this blog post, you’ll love our free PDF that shows you how you can save HOURS or even DAYS over the course of your build. Click here for immediate access!