
[convertkit form=1899477]
Removing school bus heaters can be intimidating. Not because the job is overly complicated but because the project comes early in the skoolie conversion process.
I had removed the seats. Check.
Ripped up the floor. Check.
But those jobs felt risk-free. I mean, seats and floors don’t contribute much to the actual running of the bus.
But heater removal? They have coolant running through them. There’s valves and stuff attached. If I don’t do this right, I’ll blow up my bus engine. Then I’ll be sad.
I am finding this to be a normal part of the school bus conversion process. We’re a bit nervous about a particular project until we get into it and figure it out.
Then we say, “I can’t believe we felt so hesitant.”
Which is a really cool aspect of the process. An RV you just buy. With a skoolie you invest.
- Time.
- Money.
- Emotional bandwidth.
And you learn and grow.
That’s cool.
But, back to bus heater removal.
Why Remove the School Bus Heaters
Because they take up space. They’re big and bulky and don’t work unless the bus is running anyway. While you’re parked, if you need heat you will be running a different source anyway, so save the space with a heater removal project.
However, it’s a good idea to leave at least one of the front ones in. Our bus has a heater just to the left of the driver’s seat and another just to the right of the stairwell. Both of these have vents directed at the windshield to use as a defroster. When driving on a rainy day, we think being able to see out of the windshield would be a nice feature.
Besides, I know that we will be driving in some cool weather at times, so having a heat source to keep the driver warm and toasty is worth the space that these heaters occupy.
Tools
Screwdriver or Ratchet
Box Cutter Knife
Bucket
Removing the Heaters
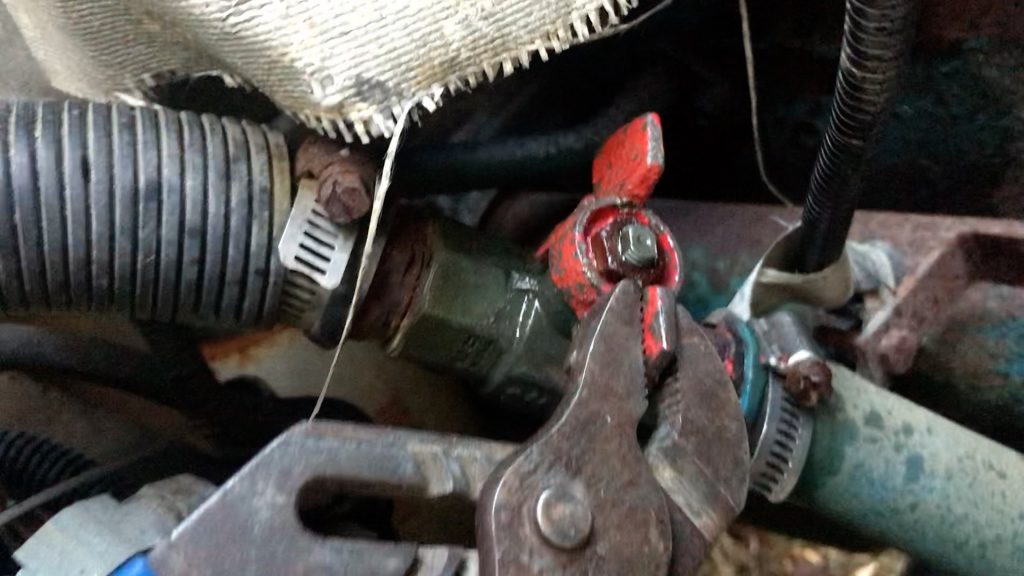
Valve Shutoff
First, I shut off the valves to the bus heater lines in the engine compartment. One was pretty stuck, so I gave it a few squirts of PB-Blaster to loosen it up.
Removing School Bus Heater Wiring
I cut the wires near the rear heater, then coiled the wires back to the front of the bus, labeled them, taped the ends, and left them near where they dropped down into the electrical panel.
I dealt with the wiring later!
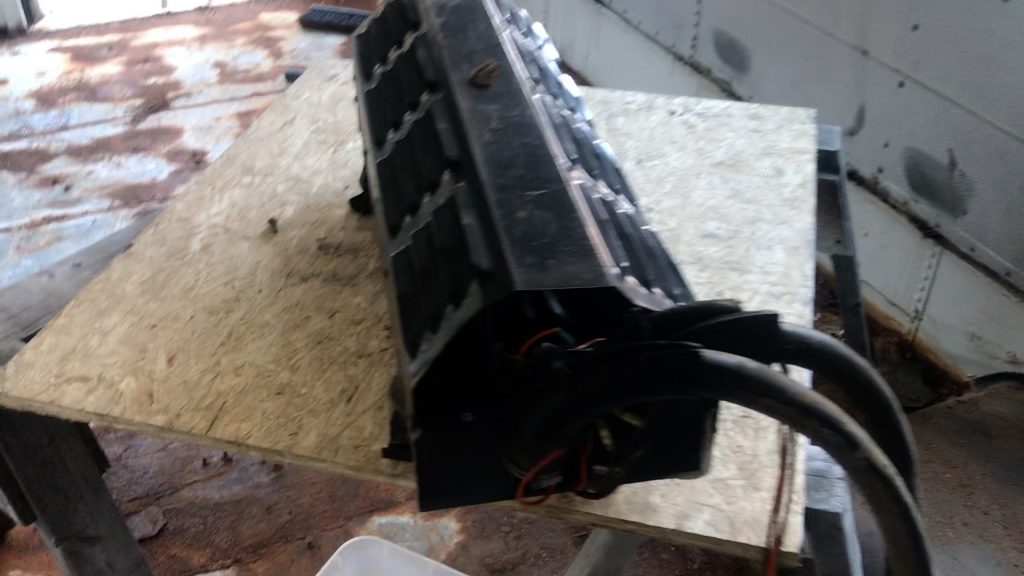
Heater Removal #1
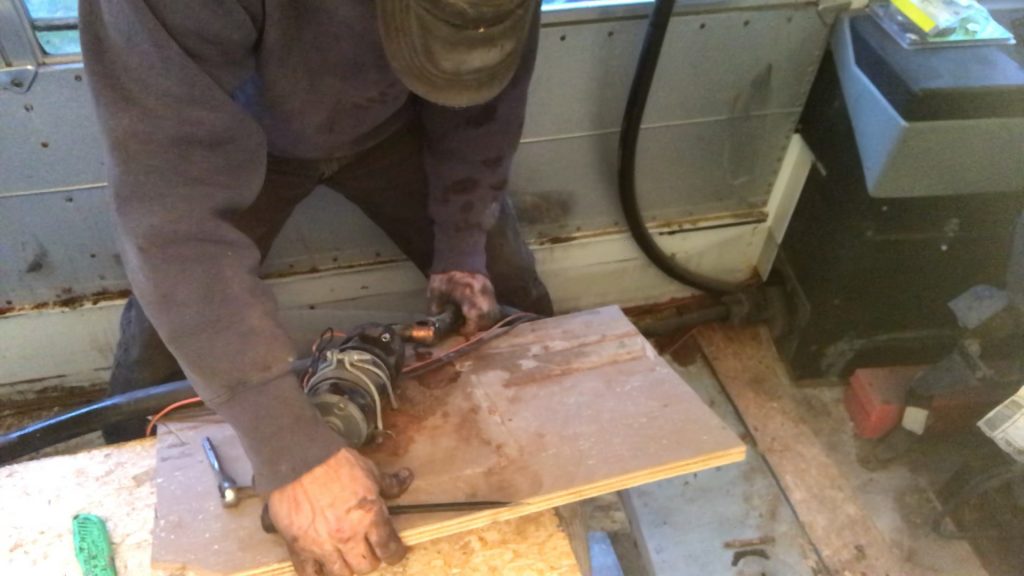
Our rear heater was screwed to the floor. When I had ripped up the floor, however, I had simply removed the school bus heaters by prying them from the plywood.
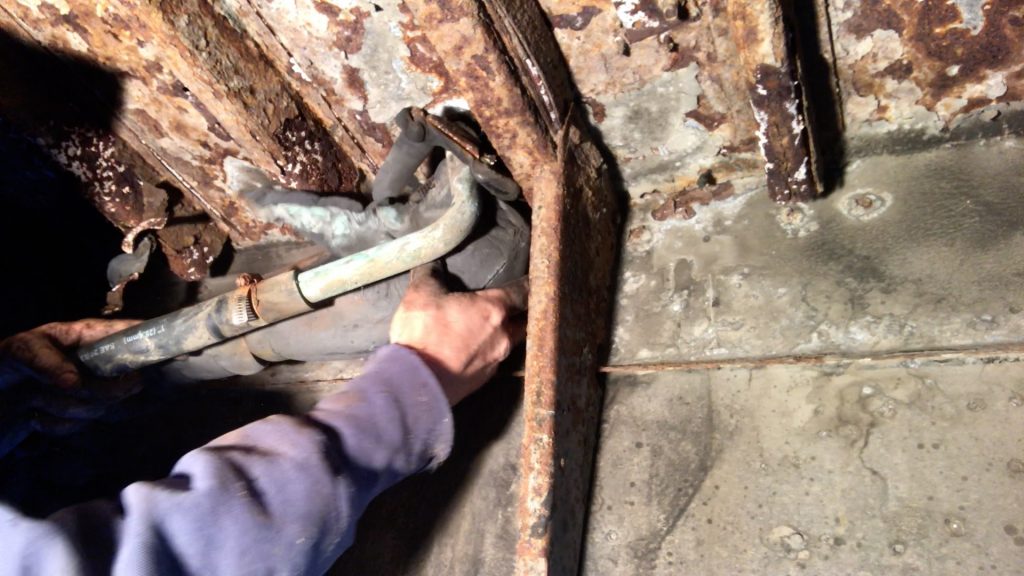
Now, to access the coolant lines, I removed a few metal plates near the wall and freed up the hoses.
To save myself from knee and back pain I brought in a couple of sawhorses and a small piece of plywood to fabricate a little work table.
Draining the Coolant
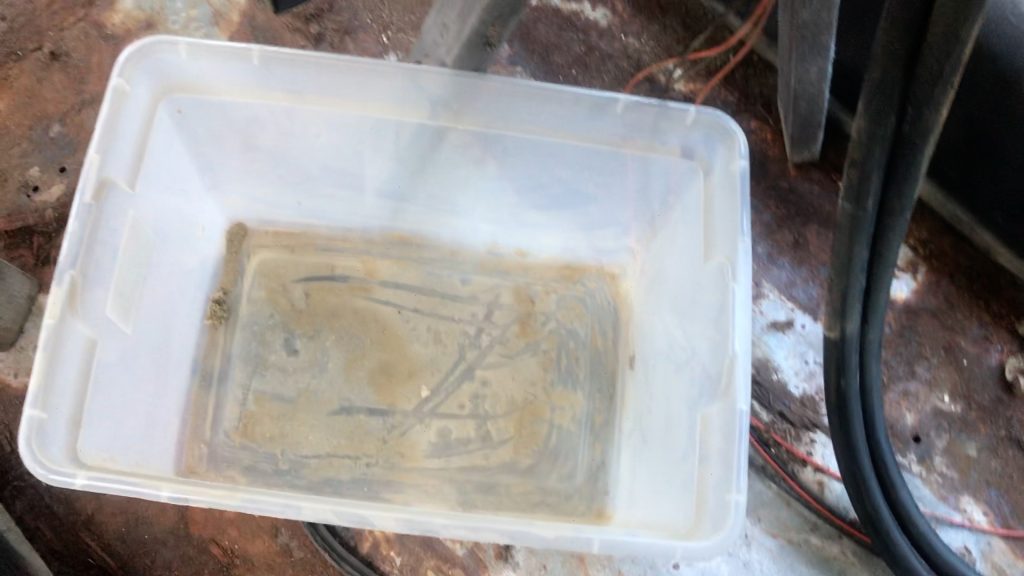
I set the rear heater up on the table and places a short, wide rubber maid bin on the bus floor to catch the coolant when I undid the hoses. The short bin helped me get the hose as low to the floor as possible to allow the coolant to drain. I also wanted a wide target.
Rather than a regular slotted screwdriver which seems to want to constantly slip out of the groove, I like using a socket and a ratchet on the hose clamps
Turns out I should have just skipped this step. After loosening the clamp I found that the hose was so stuck to the heater pipes that I had to cut them off anyway. (Yet another challenge to make heater removal more challenging!)
Most of the coolant from both the bus heater and the coolant hoses made it into my bin. I set the rear heater aside for a future heat exchanger project, then pulled the hoses over to a hole in the floor where they dropped underneath the bus.
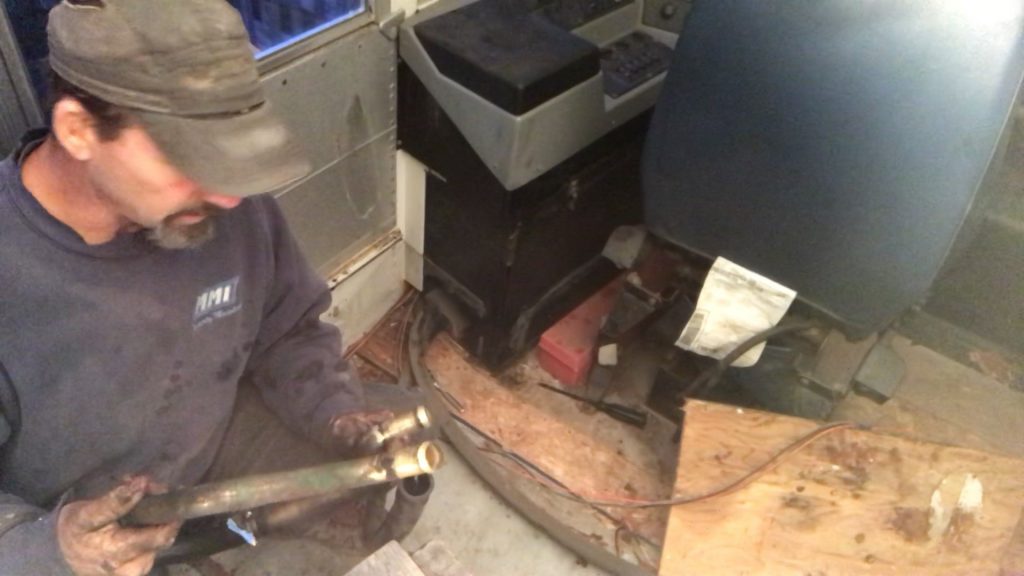
I moved my bucket, and once again had to cut hoses free from their connectors and drain the coolant into my bin. I cut off the insulation from the hoses and pulled them back toward the front of the bus and back up through the floor to the second rear heater.
Removing the Second Skoolie Heater and Heat Pump
I repeated the process for the second bus heater, then traced the hoses back to a heat pump, and repeated the process again.
I found it a bit messier here. The coolant lines were getting shorter and more difficult to drain the fluid into the bin. Going UP over the edge of the bucket didn’t get as much fluid to drain so when I dropped the hose back down to the floor more coolant ran out. I used a few rags to clean it up so our dog didn’t lap it up. The stuff is toxic but dogs seem to find it delicious, so I had to keep Ola, our 1-year-old Plott Hound, away from it.
Closing the Loop
Heater removal breaks a coolant flow loop. To prevent all the engine coolant from blasting out, the loop needs to be reconnected.
The coolant hoses in our bus looped through the bus engine compartment, through the rear heater, back to the driver heater, then back to the engine. I had removed the rear heaters but didn’t have the time to fully disassemble the driver’s console to get at that heater. Instead, I used one of the brass unions used to connect the hoses under the bus to loop the two hoses together. It wasn’t U-shaped, so the hoses pinched a bit making the turn. However, I hooked them up, turned the valves back on in the engine compartment and started the bus.
No leaks!
Once the bus warmed up I touched the hoses and both the sides of the loop felt warm so I knew that coolant was flowing through.
Driver’s Heater
At some point, I had to tackle the mass of switches, wires, and hoses running into the console. Clearly it necessitated me donning both an electrician and plumber’s hat in the process.
After taking apart all the defroster shrouds and the switch bays, I got down to the heater core. I did have to do a little electrical work to repair a few wires chewed by mice.
However, after LABELING then disconnecting the wires, I was able to focus on the hoses. Once again I got my short, wide bin, loosened and removed the clamps, then drained the coolant from the hoses.
With the driver’s heater completely free, now, I moved it out of the way. I will plan to wash and paint this area of the floor when it warms up. In the meantime, I measured the length of the hoses and cut them to size so that when I reinstall that heater, the intake and return lines will fit perfectly.
Topping off the Coolant Resevoir
Some good news: the coolant was in excellent shape! It was clear and bright red. So, to make sure by removing school bus heaters I didn’t leave the system low, I poured it from my bin back into the coolant reservoir in the engine compartment.
Conclusion
Heater removal felt intimidating at first, but only because this project came early in the process. In fact, it’s almost like it fits perfectly as a pre-requisite for more complicated projects down the road.
So get out the buckets and remove those heaters!
If you like this blog post, you’ll love our free PDF that shows you how you can save HOURS or even DAYS over the course of your build. Click here for immediate access!