
Building skoolie stairs required some design planning.
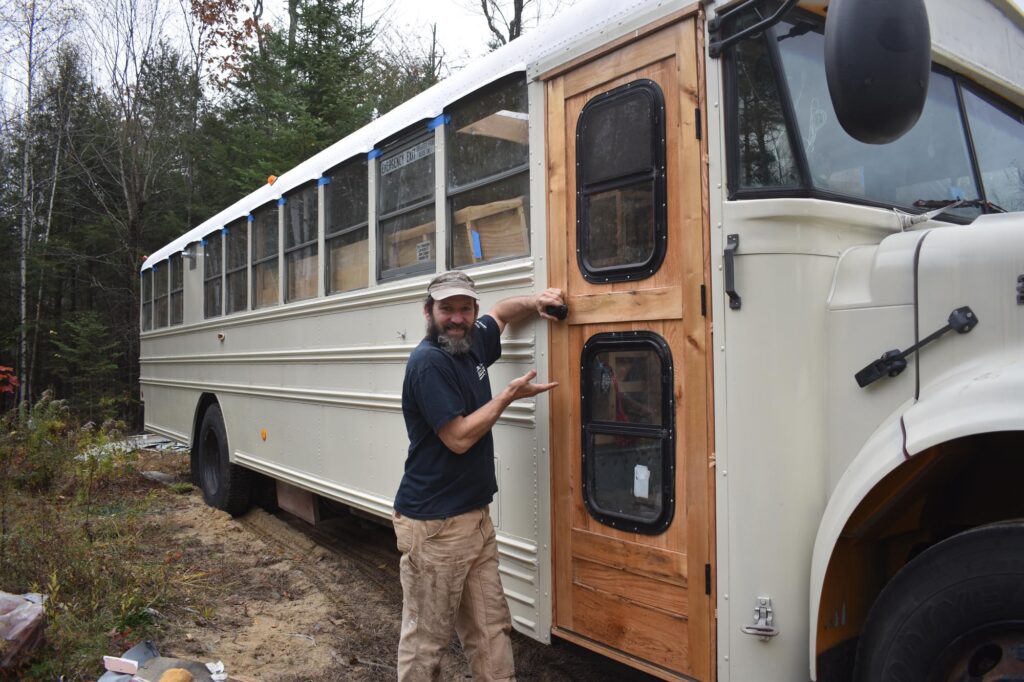
So far we’ve bedecked our skoolie conversion project with wood.
And we love it.
But, as Friar Lawrence says in Romeo and Juliet, “honey is loathsome in its own deliciousness.”
In other words, too much is too much.
So we decided to introduce some ceramic / rock work with the skoolie stairs. The materials still reflect the natural look of the bus. Moreover, as a high-traffic area, skoolie steps clad in slate will better hold up to repeated foot traffic.
Fortunately our friends J.P. and Flash had given us a box of Monson Slate left over from a house project. This box was just the perfect amount for our skoolie stair endeavor.
Skoolie Step Deconstruction
Of course, as always in skoolie conversion projects, I needed to destroy before I created.
And it’s never easy.
All the screws holding the rubber step covering were rusted out, so I had to grind of the heads with my angle grinder, then use a pry bar to rip out the rubber.
Fortunately, I found the upper stairs rust free.
The metal support under the first step, however, had corroded badly, however. In fact, in order to remove the door I had to cut the support out because the piece that held the door bottom in had rusted to the support piece.
This needed to be replaced.
Skoolie Stairs Metal Fabrication
While I have been able to hack together a few racks with my toddler welding skills, I didn’t trust myself with this part of the bus. So I called on my friend, Sean, who actually possesses metal fabrication skills and he made quick work of the 1″ square steel weld.
I tinkered a piece of sheet metal over the weld, use some rivets and 3M 5200 adhesive on it, then primed and painted it.
Skoolie Door Install
For a more detailed description of this project, check out the post on the custom skoolie door install!
Skoolie Stairs Advantech Treads
I wanted a solid base under the slate tile, and I had some scraps of 3/4″ Advatech laying around, so I decided to use that. (I’m a big fan of the water-resistant qualities of Advantech. I expound upon it in my post about the skoolie subfloor.)
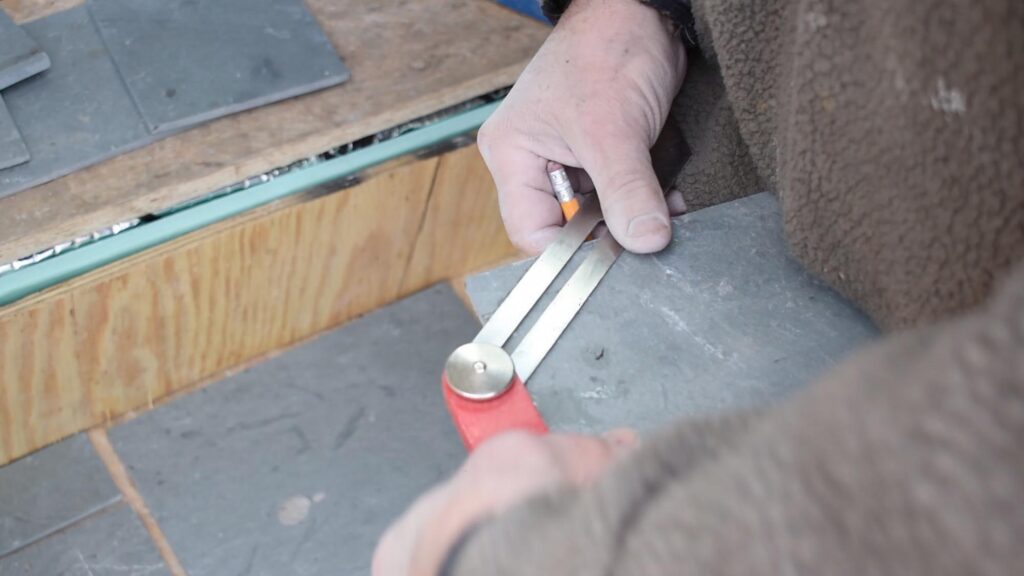
Julie measured the stair footprint and made cardboard templates of each step. I traced the templates with all the zigs, zags and angles onto advantech pieces and cut them out.
Skoolie Stairs Bullnose Accent
Using some leftover oak from the dashboard project, I cut to size pieces to attach to the front of the advantech stair treads. Then, with a 1/2″ roundover bit on my router table , I ran one edge through on both sides to create a bullnose.
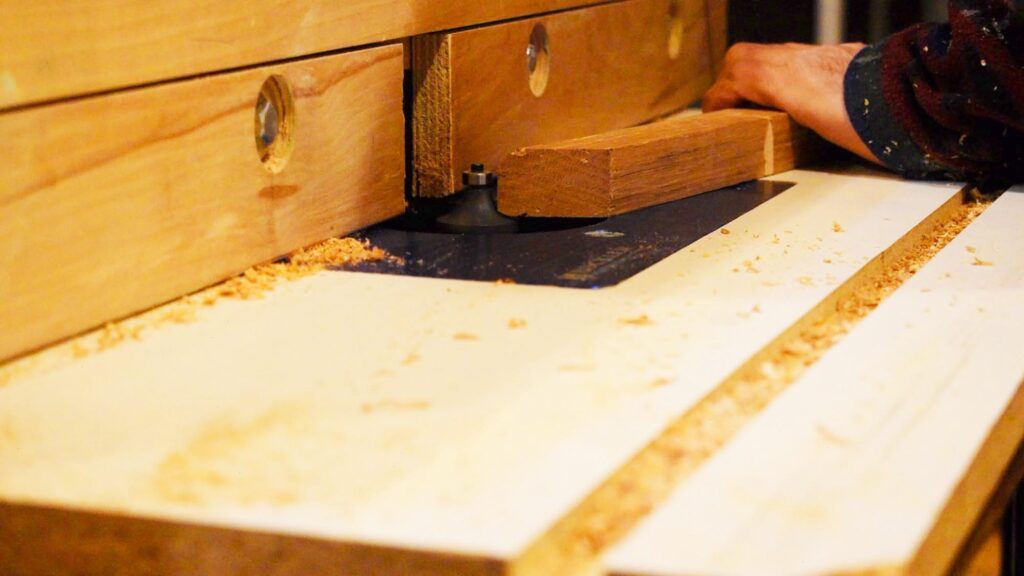
With glue and some 3 1/2″ GRK finish screws, I attached them to the stair treads.
Skoolie Stairwell Insulation
The galvanized steel in the skoolie stairwell is pretty strong. It also radiates heat and cold a little too well. So I wanted to provide some insulation.
I couldn’t use too much, though, or else I would constrict the space.
Kilmat
I wish I could remember where so that I could give credit, but somewhere I saw a posted picture of Kilmat on the stairs.
Brilliant!
Kilmat is a waterproof bituminous sound deadening mat that also has low heat conductivity. Sounds perfect for stairs and I had some left over from when I put it on the the front of the bus in the driver’s area.
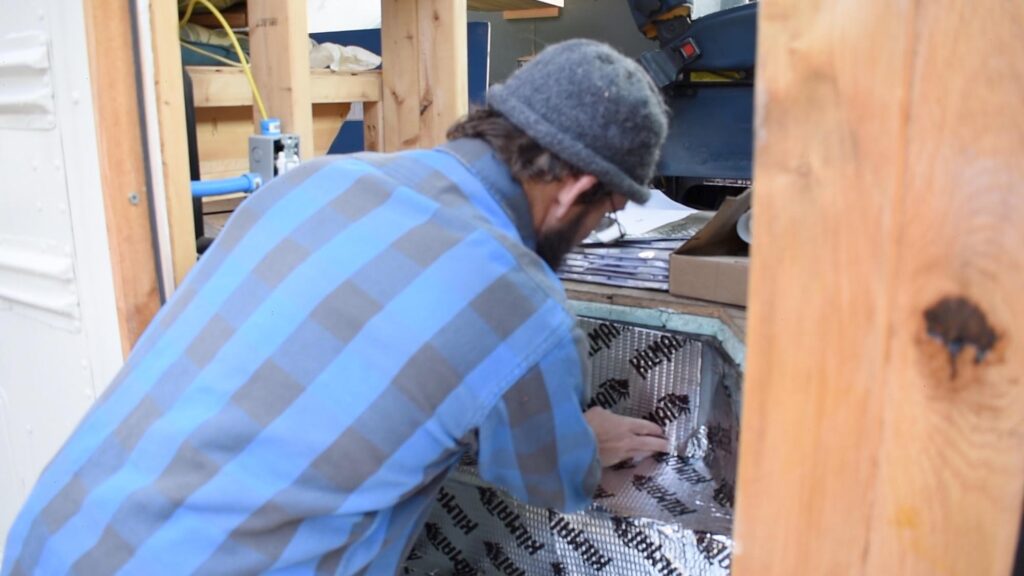
I stuck that onto the stair treads, risers and, what little of it I had left, on the sides of the skoolie stairwell.
Rigid Foam
After cutting two more templates of the sidewalls of the skoolie stairs, I traced and cut out 1/2″ rigid foam. I also cut out foam for the stair risers
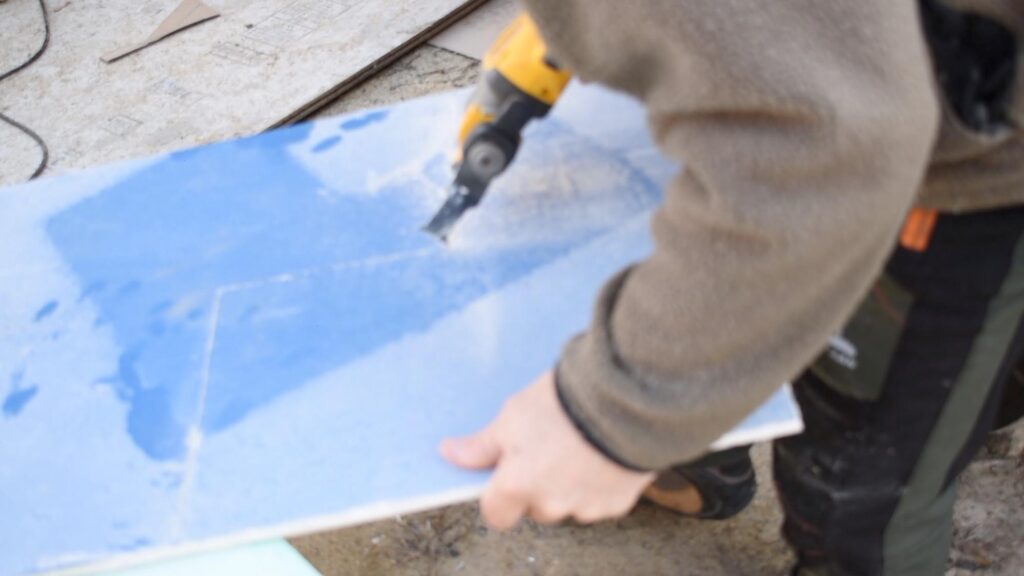
Backerboard
I traced the foam cutout onto a piece of tile backerboard that had left over from building the house. (Packrat mentality validated again!)
It’s pretty easy to score backerboard along a straight line with an exacto knife and break it. Steps make it more of a pain. However, I found my multi-tool AWESOME for cutting around those corners! (AND…it is the BEST way to take of that reflective tape on the bus! By FAR!)
I needed waterproof screws that had the head size and shape to hold a masonry (backerboard is kind of like sheetrock) in place. However, I could only find cement board screws in 1 1/4″ or 1 â…”,,,both too short.
Instead, I used self tapping screws with washers for extra holding power.
I decided to use pallet wood for the finish skoolie stair risers, so I used 1/2″ plywood with countersunk holes for the risers.
Skoolie Step Risers
I decided to use pallet wood for the finish skoolie stairs risers, so I used 1/2″ plywood with countersunk holes for the risers.
With my planer I “prettied up” some oak pallet wood that I had, then treated both sides with some “High Build” oil based polyurethane.
Skoolie Stairs Tile
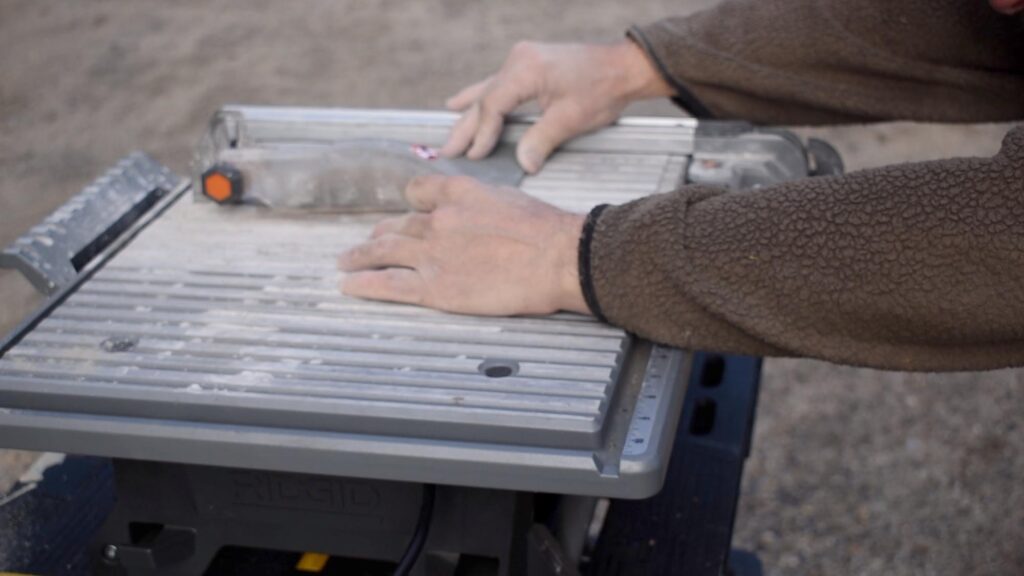
I laid out the slate tile roughly in the spots that they would go just to make sure I limited waste and gave myself enough material to finish the project.
Then with a tile saw I cut everything to size.
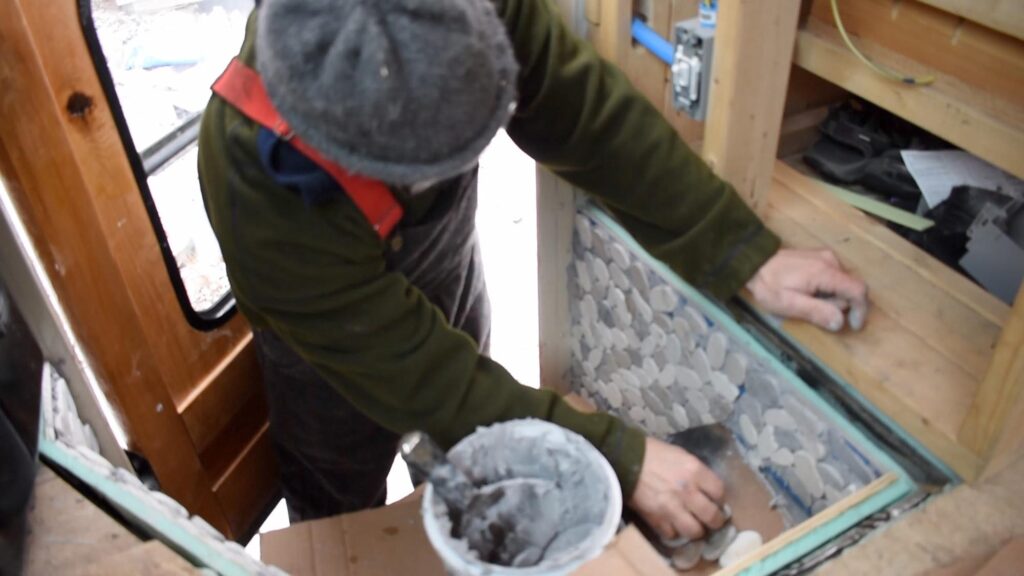
Using a trowel I scooped mastic onto the advantech stair tread, grooved it with my square groove trowel. Then slightly twisting each piece (and leaving a 1/4 grout gap), I set each piece into the mastic.
To reduce the odds of me screwing up the tile, I let it dry overnight with the skoolie diesel heater cranking, to let it dry.
Skoolie Stairwell Mosaic
To add some texture, (and because I found it half off!) I elected to use a stone mat material for the skoolie stairwell sides.
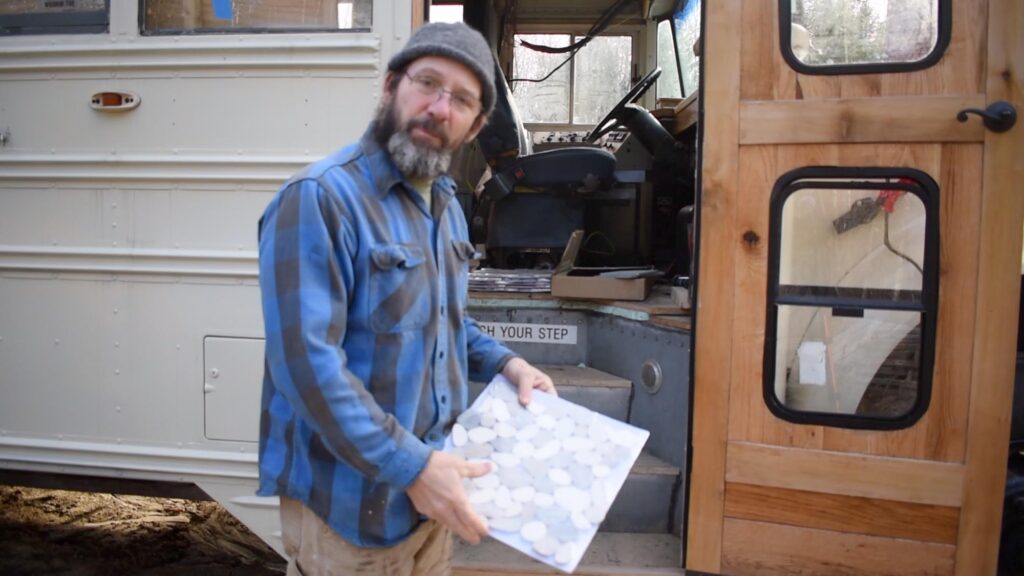
Stone mat looks really cool, but can be tricky to work with because the edges really aren’t square.
To decrease chances of catastrophic screw up, AND since it was freezing cold outside, I set the previously used template on my work table in the shop and laid out the mats on the template. I ripped out stones where I needed and came as close to the necessary shape as possible.
Then, like with the slate tile, I applied mastic and stuck the stone mats to the sides. Where I had gaps I “buttered” up individual stones and placed them in.
After I had everything in place I used a wet sponge to clean off any excess mastic.
Grouting
After 24 hours of drying, I began the grouting process. With my highly sophisticated cedar scrap grout spatula, I plopped grout onto the stair treads and sidewalls, then smeared it in with a grout trowel.
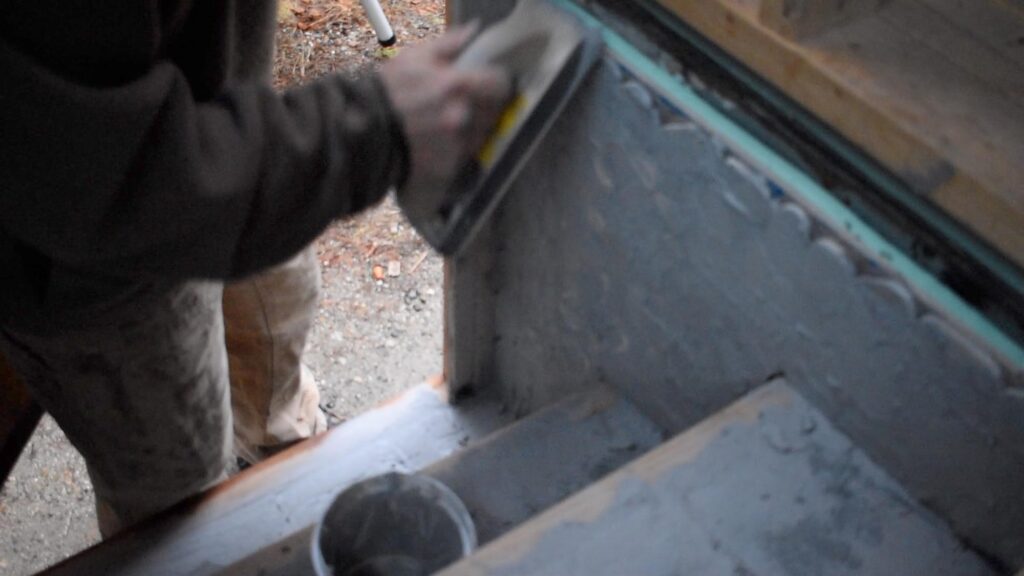
Once again, after finishing I used a sponge to clean of excess grout.
After an hour or so of drying I rubbed the grout haze off with a scotchbrite pad and a wet sponge.
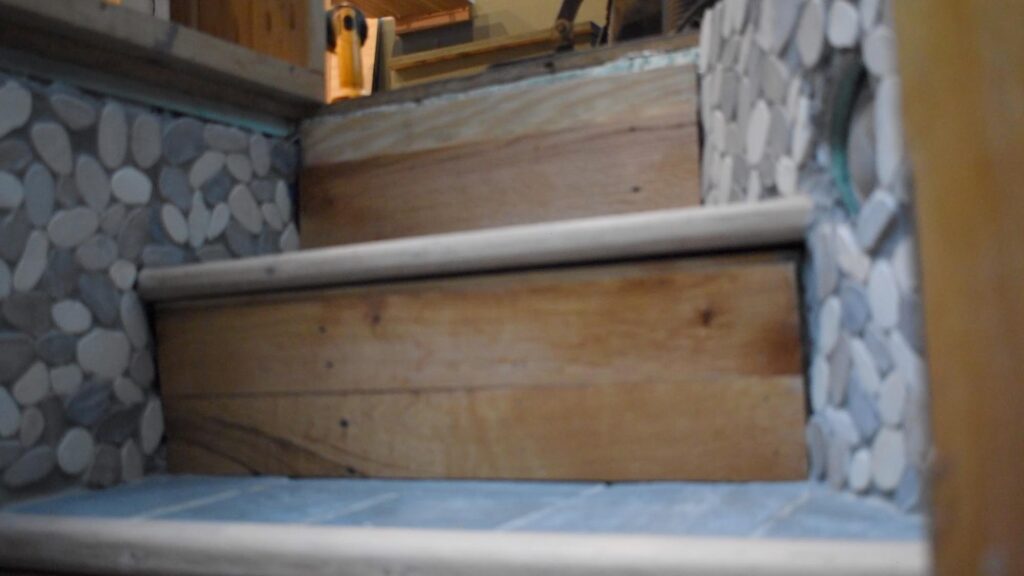
Skoolie Stairs Finish Risers
With the tile and grout all set in place I departed my work as a mason and returned to being a carpenter. I cut the pallet wood to size for each riser. Then I applied glue to the back of each piece and attached them to the plywood risers with 1″ finish nails.
Skoolie Stairs Conclusion
I’m stoked with the way it looks! The slate, stone matt and oak risers look great together and provide a pleasing contrast.
I am confident that the slate stair treads will withstand wear.
I’m less confident in the stairwell sides. In retrospect, I think I should have used plywood instead of the backerboard. I’m concerned that, even with the washers, that the vibration of the bus will rattle it loose over time.
But, only time will tell.
And, as with most things, mistakes you can fix, so I’m not going to worry about it a whole lot.
I’ll keep you posted.
Thanks for joining me on this chapter of the skoolie conversion project. Feel free to post comments, suggestions, critiques, manifestations or proclamations below!
All the best,
Ted
Check out this project!
If you like this blog post, you’ll love our free PDF that shows you how you can save HOURS or even DAYS over the course of your build. Click here for immediate access!